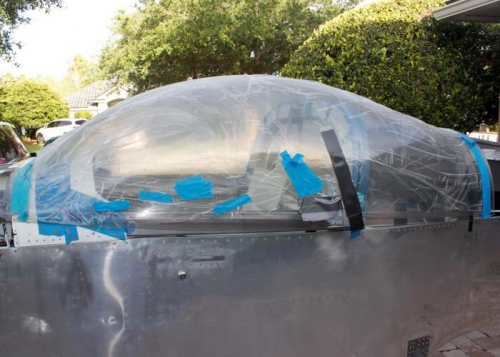
Initially, just setting the canopy on the frame after which I could rough mark the 1st big cut lines in front and back. I'll leave the sides for much later. It sits high because it's too long at this point plus has too much of the surplus tooling material in front. I had previously marked and drew a centerline down the canopy for fitting reference. That line comes in real handy by lining it up against the middle top skin rib up front, and the middle rear skin rivet line behind the canopy. I have remnants of protective blue and black tape all over the canopy. Some of it held the width of the canopy securely while it was being stored, so it wouldn't spread out and possibly fracture. Its been stored for about 5 years.
Ahhh. Just to see it on the airplane gives me such joy.
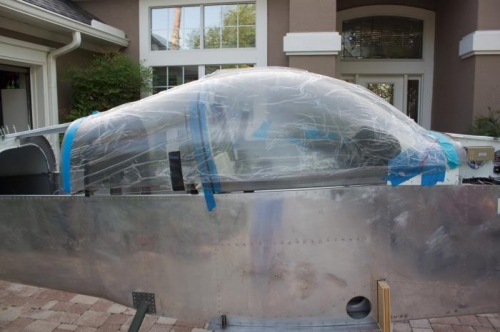
I left the rear top skin off for starters. It just gets in your way for so many different things...
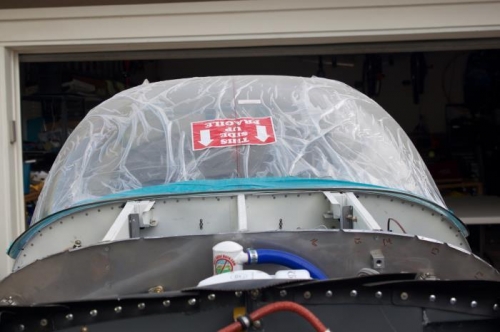
Possibly note the center line markings aligned with the middle rib attached to the sub panel/firewall.