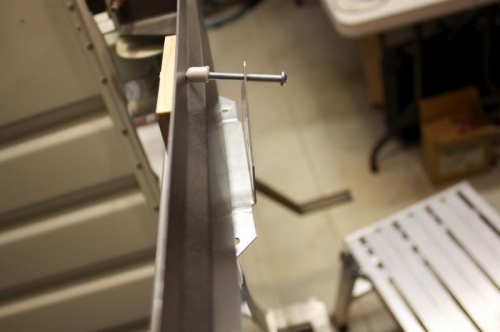
ClosetMaid pkg has 4 large caps and bunch of smaller caps. RTV the small cap onto the machine screw and then slip the larger cap over the smaller one for more softness when clamping the canopy. I don't think it matters, but might as well use the larger caps, and they slip over the small ones nicely. With the machine screw backed out until vinyl caps are touching the threaded hole, you can lay these onto the fuselage top rail and lower the canopy frame over them. Then, with canopy lowered onto the fuselage for fitting, you can push the canopy sides into their final position with these clamps to see and mark trimming on the front and back. The canopy sides need to be trimmed of excess side material before you use the clamps. You can even put a slight backwards bend on these bracket sides to aim the machine screw upwards a little more if necessary.
Canopy would be squeezed between machine screw and canopy side rail.
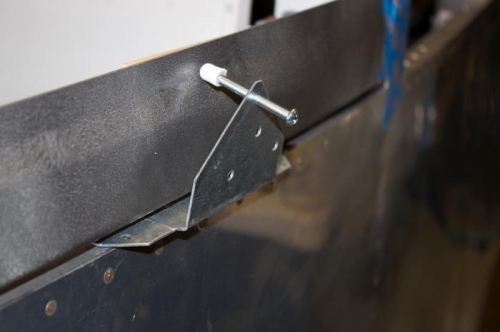
You can even bend this bracket side outward slightly to point the machine screw up a little more.
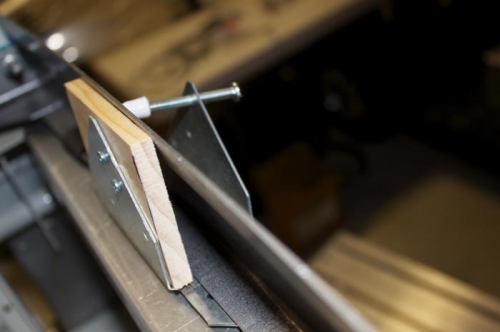
Wood just comes over to the inside of the rail and presses against it for clamping opposite force.