
|

|
|
|
Wendells RV-6A
|
Date: 11-9-2010
|
Number of Hours: 5.00
|
Manual Reference: New Right Aileron
|
Brief Description: Right Aileron New
|
|
I decided I was not happy with my original right aileron. While it was certainly airworthy and functionally fine, I knew I could do better. Ordered all the parts for a new one and spent two days getting it ready. The spar needed 14 lightening holes cut out. The cutter worked very nicely in the drill press. You just have to watch where you put your hands and to keep the hold down clamps in the clear of the cutter. 2 inch holes with 3/4 inch spacing between them. The plan drawing shows where to begin the 1st one. I left the spar solid for 7 inches from the inboard end. A 2 inch scotchbrite wheel fit inside perfectly to finish up the edges of each cutout hole. Did all the fitting, drilling, countersinking of the skeleton. When I placed the skeleton inside the skin, I clamped the skin to the end ribs so that there was 9 13/16 inches from the trailing edge bend to the rear face of the aileron spar. Verifying that measurement, I clamped the skins and drilled the top skin to the spar. Then clamped tight the nose ribs and skin and drilled the galvanized pipe through matching holes in the nose skin. Drilled the nose ribs through matching holes in the nose skin. Lined up the previously marked rivet line on the bottom of the spar and drilled 4 holes evenly spaced across the width of the nose skin into the bottom spar. Mark the skin to indicate those holes you selected. Un cleco that nose skin from the spar and fold the rear bottom skin under the nose skin. Drill those same 4 holes again through the rear skin which is now under the nose skin. When you have those drilled and clecoed, you can start match drilling the remaining spar holes knowing you are lined up ok. Finish by drilling the ribs to the skins. I drilled all holes #41 first. Then for the bottom spar and galvanized pipe holes, I enlarged them to # 30. Take it all apart and debur, debur, debur.
|
|
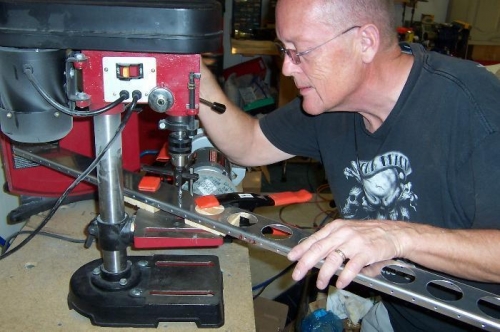
Making the lightening holes on the drill press.
|
|
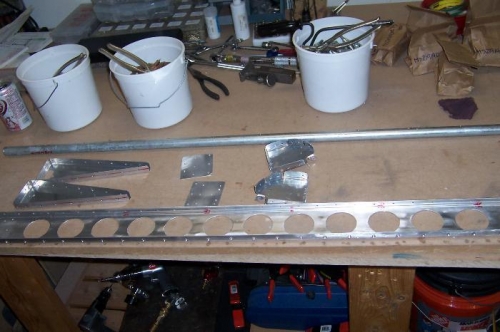
Parts drilled. Spar countersunk and ready for dimpling all skin and ribs.
|
|
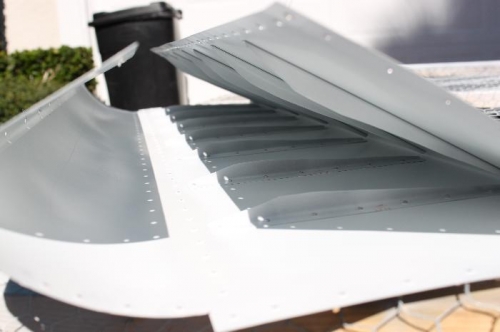
Skin trailing edge bent, all drilled, dimpled, primed
|
|
|
|
|
|
|
|
|
Copyright © 2001-2024 Matronics. All Rights Reserved.
|