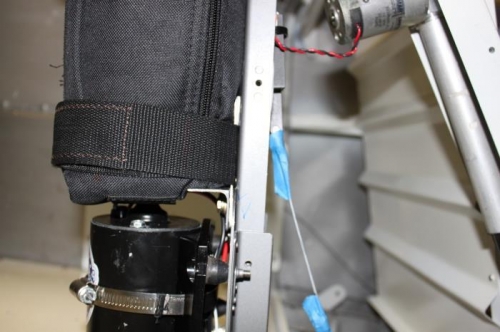
For the bottom area of the tank, I added what I would call a belt loop onto the back of the upright flap motor housing support. 1 1/2 inch webbing fits inside the belt loop. A spacer near the top, and the smoke motor doubler on the bottom provide the necessary clearance for the webbing. I put 5 inches of heavy duty Velcro towards each end of the web belt. It came with strong adhesive, but I also stitched it around the perimeter for holding strength. The belt loop is held with two AN3 bolts into nutplates at the bottom and flush stainless 10/32 machine screws at the top. Flush prevents any interference with the O2 tank when mounted. I also got to practice double flush riveting again for the upper spacer. Now I will route the O2 lines and place clips in strategic areas to support the lines and apparatus.
Webbing belt loop installed on upright flap housing support. Flush screws aren't tight in this picture
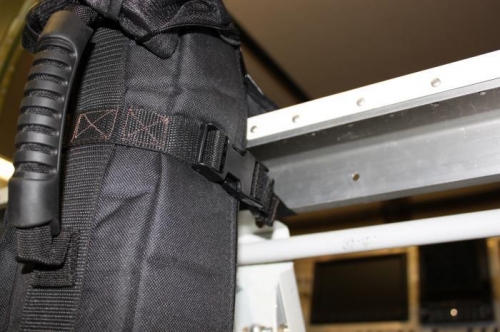
1 1/2 web belt with heavy duty Velcro sewn/glued in place which holds tank bottom tightly.
Made my own attach buckles on tank cover and routed the new webbing to hold tank top perfectly.