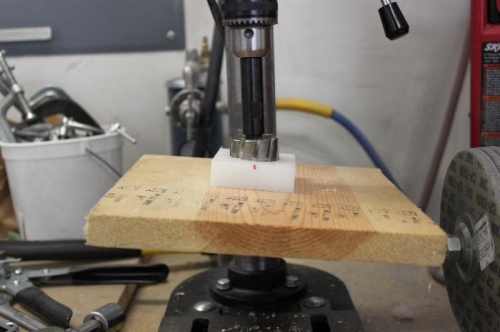
Tilted the drill press table to 83 degrees ( 7 degrees off square) and drilled 1.5 inch hole for the step torque tube to slip into. That cutter is fantastic. I purchased two sets of different diameters up to 1 1/2 inches especially for firewall cutting, but they are precise, clean, and can be used anywhere on the airplane. Then I pilot drilled (at 90 degrees) the AN3 mounting bolt holes as well as the AN3 holes for the long bolt that goes through the side of the torque tube and the UHMW block. Pilot drilled the UHMW block on the drill press and then fitted the step and UHMW block to the fuselage rib. Using a neat threaded drill/reamer bit on the angle drill, I match drilled AN3 holes through the floor rib and tightened down the mounting block. Then I match drilled through each side of the UHMW pilot holes into the steel tube. Went in separately from each side of the UHMW block into the tube. Should line up, right? Right. I lubed the long bolt and it slid into place all the way through. Done. It looks great. Of course it all comes off for painting, and now, on to the pilot side. I'm a happy camper. Thank you Ken, Vans Aircraft for a fine welding job to solve this problem.
Table tilted to 83 degrees to get the 7 degree angle needed.
This threaded drill/reamer drills at .177 and reams at .188 in one operation. Cool.
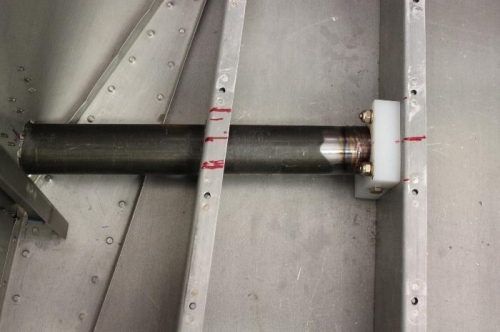
There it is. Mounted and it fits perfectly. Yeah!! Of course it all comes out for painting.