Brief Description: Permanently mount the rudder-brake hardware
I think of myself as more experienced now after a couple years of working on this project. Then I get to a place where I need to install cotter pins on castle nuts and its like I was back to being ignorant. I'm sure there is a right and wrong way. No pictures easily found so went to AC43.13 and finally found a bad drawing showing one of two ways to install them. One with a tang folded over the end of the bolt and one with both tangs wrapped around the castle nut face. I chose the over the end of the bolt option for one tang. Of course, it cannot extend past the diameter of the bolt so just prior to tapping it in place you snip off the excess length with your good set of clippers. 12 installed on all pedals. I decided to put the long bolts through the bottom rear and also added a spacer tube to maintain proper space so there's no binding when tightening the castle nut. Worked nicely except I forgot to paint the tubes. I'll get to that right away. Used the stainless button head screws on these RV pedals and I'm happy with the outcome. Have to remember to add the two sizes of hex wrenchs to my RV tool kit. One for the brake spring keepers and one for the button head screws. Next up is adding brake lines.as soon as I find my firewall fittings.
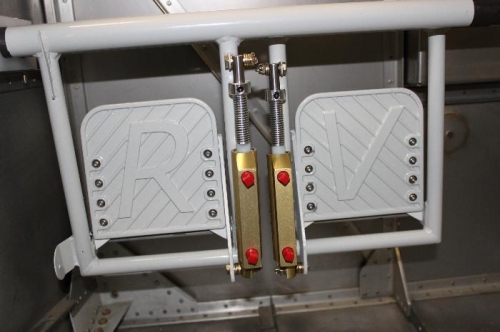
Return springs work perfectly after everyting was torqued and finished.
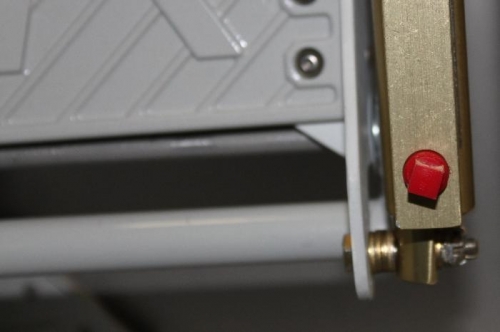
Thats the cotter pin bending choice I made.
Spacer tube over the long bolt to maintain proper geometry on pedals.