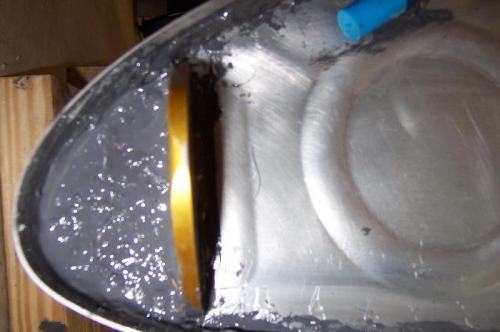
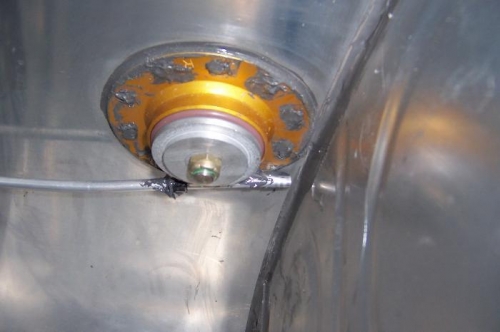
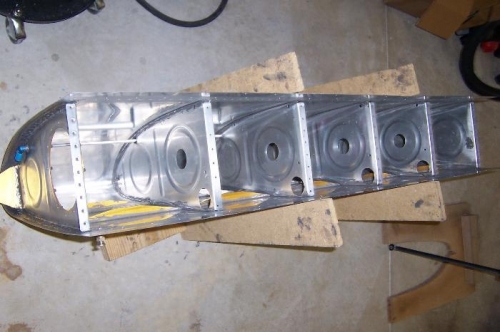
Inside the tank I prosealed the 1/4 inch vent line to the tank fill fitting. Just wipe proseal against the vent line and it piles up and bridges the gap between the tank fill fitting and the vent line. Be cautious that you don't block the end of the vent line with proseal or you will be unhappy later when your tank malfunctions. Cleaned up the unnecessary proseal smeared onto the tank skin during riveting using MEK. Double checked all the flush rivets for smooth fit. Peeled off the rest of the original vinyl skin protectant sheet from the outside skin. Added a little more proseal filet along the rib inside as a safety margin. Made sure all the shop heads were encapsulated with proseal as well as the 470AD4-7 rivets holding the tank attach angle and reinforcing plate to both sides of the tank rib. I used my 3X gun with a 6 inch long rivet set for the AD4-7 rivets. Using the tungsten bucking bar and full power on the gun, the rivets set very very easily. Slowly say ''one-thousand-one" and you're done. Checked each one with the rivet guage tool. Only one needed a little more setting to reach proper dimensions. The worst part of this whole process is the cleanup. Hate it. 2nd worst part is the time it takes to check and recheck each flush rivet for proper fit all the way around the rivet head. You are working on a slightly curved surface. You think the rivet is set nicely and then when you clean up the area around the flush head you see it slightly proud in a small area. Hit it with the flush set and bucking bar again (or the hand squeezer if on the end ribs) and it is set perfectly. Then you have to re-proseal the shop head. Oh well. I can't wait to get the back on and test it. I will put small reinforcing gussets on the corners of the end ribs, each held with one AN470AD4 rivet. Soon. Very Soon..