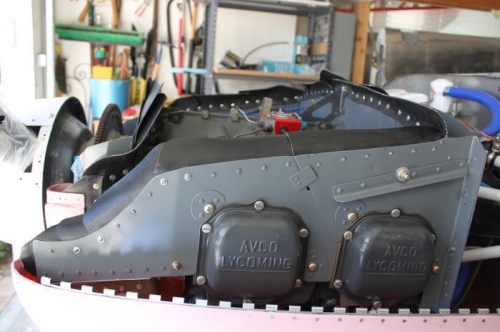
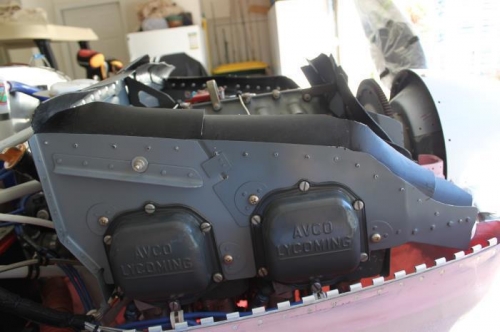
Finished making and installing the engine baffles. There's clearly no single method to make these. I've seen many variations with so much concern about leaks and overlaps and gaps that my head was swimming. Like I've learned before, use your common sense and fit paper templates for starters. Riveting was a no brainer. When I had overlapping seals to rivet, I used LP4-4 with a 6/32 washer against the rubber, and a small aluminum washer against the outside baffle metal. The LP4-4 squeezed up against both washers and made a nice finished product. The rivets from Vans were a little short for doubled material. The cowl went on and off often to check fit and snugness. The middle area behind the prop spinner was the most challenging. What I ended up with lays down very nicely along the inlet ramps and across the rising cowl behind the spinner. It works. I'm done. Moving on to install the lower baffle seals onto the lower cowl inlets.
Plan the overlaps so you can remove baffle pieces without rivet interference.
This side was easier due to curved ramp metal riveted on the front.
Don't bolt the seal at the front so it can overlap and form nice tight fit with cowl on.