
|

|
|
|
Wendells RV-6A
|
Date: 2-2-2014
|
Number of Hours: 8.00
|
Manual Reference: Baffle Seals
|
Brief Description: Install Engine Baffles 12
|
|
Cut rubber seals from the paper templates, leaving some extra in case I needed it. Basically, pilot holes drilled 1/2 inch down from top of baffle metal top, about 1 1/4 or so apart. I used leather punch to punch out the rubber and then held it in place while I then match drilled the baffle metal, clecoing as I went along. Afterwhile, it was like second nature to mark, punch, position, drill, cleco.. The middle of the top cowl has the spinner curve that blends into the whole cowl as it goes aft. That small rise needed some extra attention to get the seal material to lay naturally against the changing top. At least thats what I convinced myself of and made some different sized pieces across the rear baffle. From what I can tell looking into the oil door, it will cover that rising area nicely.
|
|
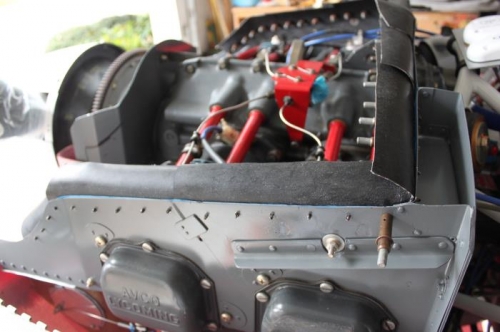
Had to remember which one overlaps the other so incoming air makes them push up correctly.
|
|

Little larger piece in the rear middle to cover the cowl shape in that area.
|
|
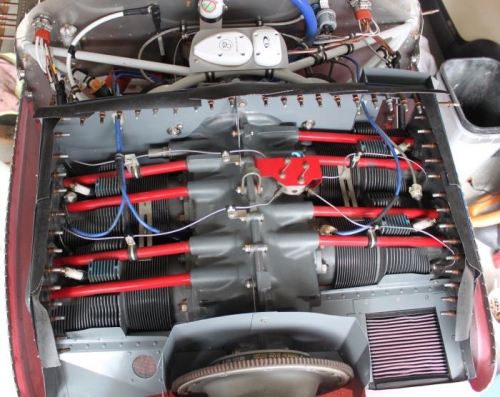
Ready to do the forward edges. That is one confusing area..
|
|
|
|
|
|
|
|
|
Copyright © 2001-2024 Matronics. All Rights Reserved.
|