I made light cardboard baffle seal templates to experiment how the actual rubber seals will mate up to the cowling. They're 2 1/2 inches wide. I think I will plan 1 inch inside the top edge of the baffles, and remaining 1 1/2 inches leaning inward as the actual pressure chamber seal. Not sure if I need to make them 3 inches wide or 2 1/2. Frankly, 2 1/2 seems to fit up nicely and unless I find some advice to the contrary, thats what I'll go with. There will be a couple smaller pieces that might need a 3 inch width to stick out sufficient to overlap an adjacent piece on a couple of the curved areas, but I'll kinow more when I fit the rubber seals. The plan is to drill #30 holes 1/2 inch down from top edge of the baffles to then match punch the baffle rubber to those holes with my leather punch. Maybe I'll do it in reverse. Rubber 1st then match drill to baffles. We'll see.
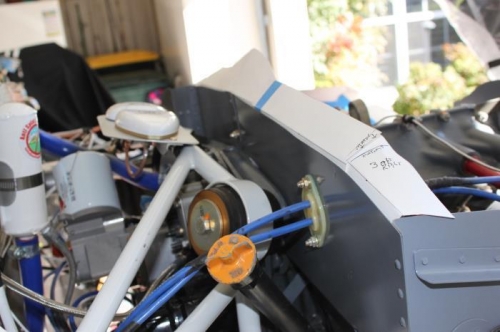
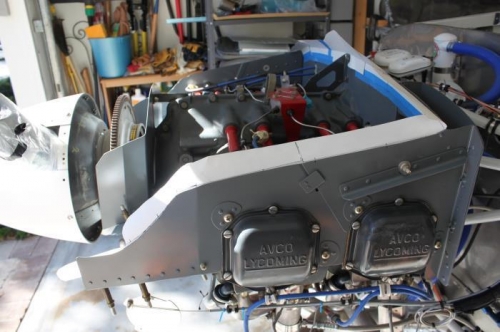
Examples of taping trimmed templates to baffles.
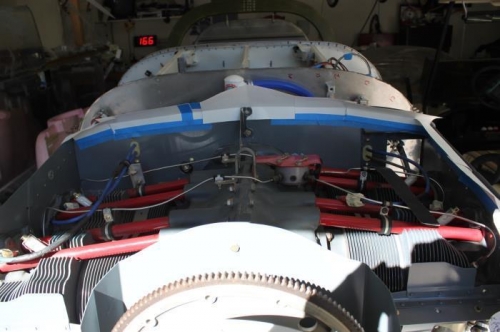
Not sure about rear middle. Cowling makes a small rise there for 6 inches.
Need to concentrate on intake ramp area and forward center baffles next.