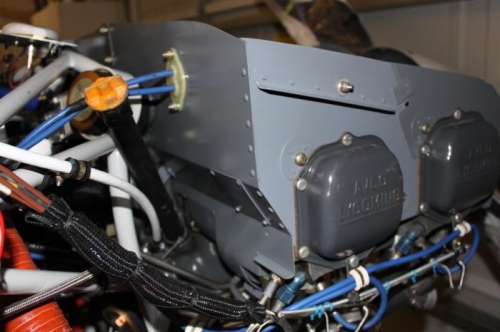
Different views of the baffles in place. The horizontal intake attach points on the left inlet ramp took a little planning. Each example I see shows a somewhat different final look, depending on where exactly the intake plenum ends up. I long ago learned to adapt to any circumstance and thats what I did here. It came together nicely. I have precious little room outboard side, but enough to complete the job. It turned out real nice. The intake plenum attaches with 8 screws into nutplates on the plenum metal. Nothing across the forward most area. When its attached and the cowling is on with baffle seal laying down across the front, the plenum is rock solid and the baffle seal seats real nice. Pictures of that later. What I'm saying is there is no concern about not attaching the forward plenum edge. It doesn't need attaching. The cowling is solid across it and the rubber seal overlaps the filter edge just fine.
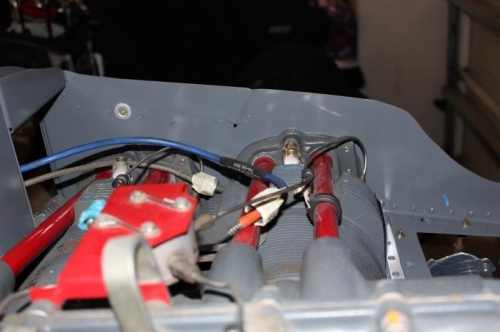
Right rear. Need to attach lower plug wires to the baffles somewhere.
Plugged the rear spark plug wrench extension bar holes with provided hardware.
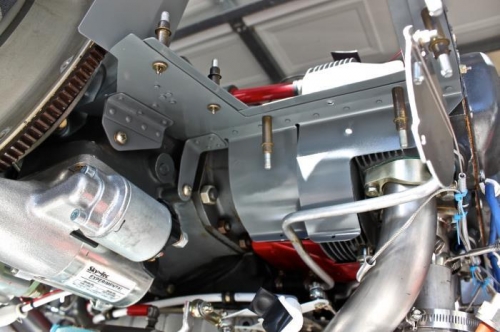
Underside of left intake ramp ready to attach plenum with 8 screws. Note its open across front.