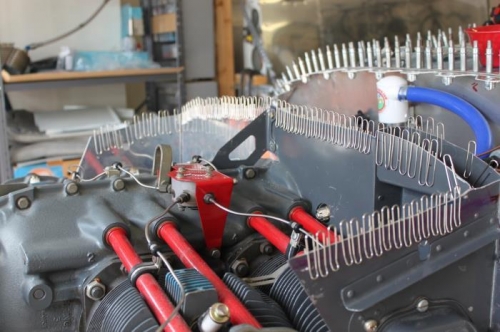
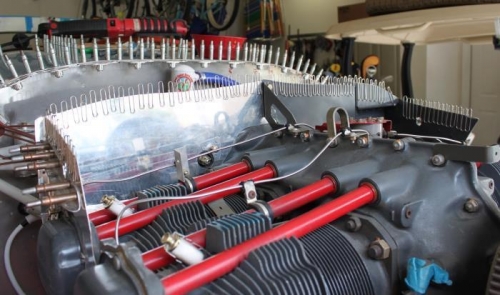
I made the initial cuts which left the baffles 7/8 inch surplus metal. Then, using paper clips and pushing the cowling down on the baffles, I was able to determine and mark a 3/8 gap on the sides and rear baffles. Cut those to finish mark and then repeated that process by mounting the forward two baffles that mount behind the spinner area. So, now I have all the baffles with a 3/8 to 1/2 gap for the rubber seals to flex against. The paper clip idea was a great one. You let the cowl push the clips down, still maintaining a flush contact, and then go along each one, measuring 3/8 inch down and mark the final trim line. Next up will be mounting the forward ramps and trimming them to match up to the cowl inlets.
How to use the paperclips. The oil cooler mount will get similar trimming.
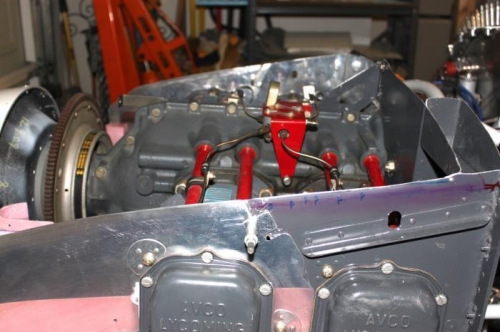
After this, I moved to the forward baffles.
More carving to do after I install the upper cowl fiberblass ramps.