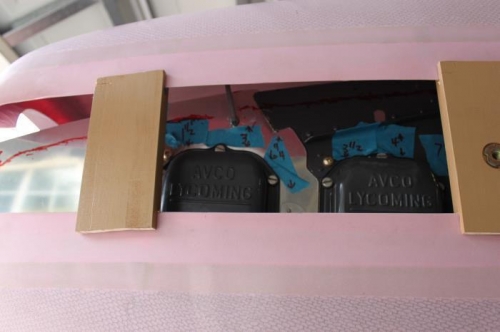
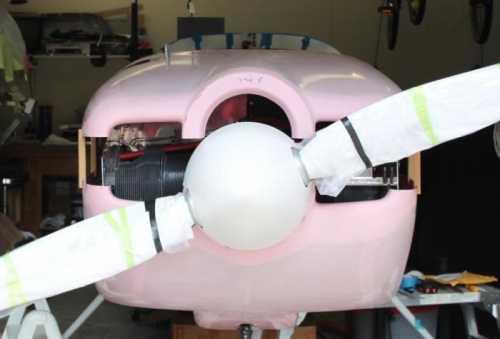
I reinstalled the baffles and the lower cowl, and made 4 6 1/2 inch wooden spacers that hold the top and bottom cowl apart by 5 inches. I cut a 1/8 wide groove in both ends of each spacer 3/4 in deep to allow the cowls to nest in the grooves at a 5 inch gap. I made a 5 1/2 inch tall thin wooden spacer (1/2 inch longer than the gap) and after positioning the top cowl on the spacers, reached in and marked the bottom of that 5.5 inch tool as I held it against the installed engine baffles and touching the inner top cowl. That gave me a tentative cut line on the baffling that would leave me a 1/2 inch gap between it and the top cowling. The flexible baffling material will get riveted onto the top of the metal to form a more or less air tight plenum for the cooling air coming in. That worked well. Make sure the top cowl is horizontally aligned with the bottom cowl while it rests on the spacers.
Grooved spacers hold the cowl 5 inches apart.
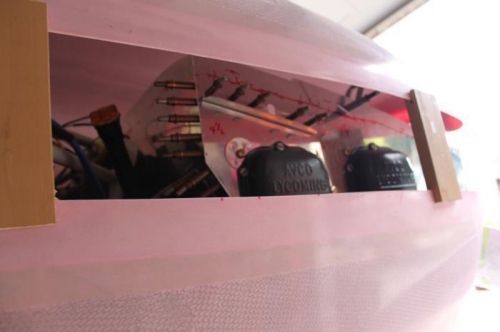
Reach in and trace bottom of 5 1/2 inch spacer along the baffle as it touches top of cowl.
Need to install the front pieces to mark them as well.