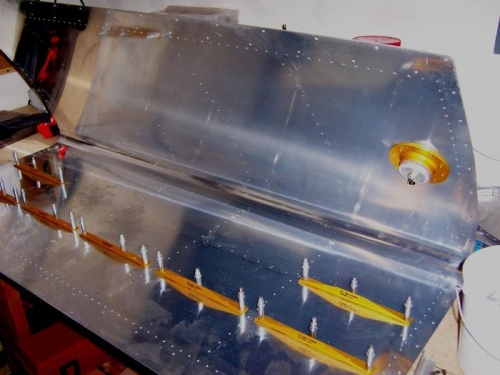
I put the lower wing skin over the top of the tank skin and ran a red finepoint sharpie along the joint where the two skins overhanged. This was a small length (about two feet) from the inboard edge of the tank marked the tank skin when it was underneath the lower wing skin. The overlap is very slight along that two foot run, perhaps 1/32 or less, but more noticable at the inboard edge.. I removed the tank and disassembeled everything again. With a flat file, I removed excess tank skin that showed as silver below the sharpie line until the skin edge touched the sharpie line. Then I scotchbrighted the edge and it will now fit perfectly. I must remember to put an edge bend on the edges of the skins where they meet to keep the edges from curling up when I rivet them. So, onto the tank stiffeners. Once again, I was disappointed that there were two missing stiffeners in the package. I have grown accustomed to this phenomenon and now just do what is necessary to continue. I had no angle of this thickness (.038) so I fabricated two angles from .063, trimmed them into shape, pattern drilled the holes then finally match drilled into the tank skin. I also fitted the fuel fill cap mounting ring and the drain valve fitting to the tank.
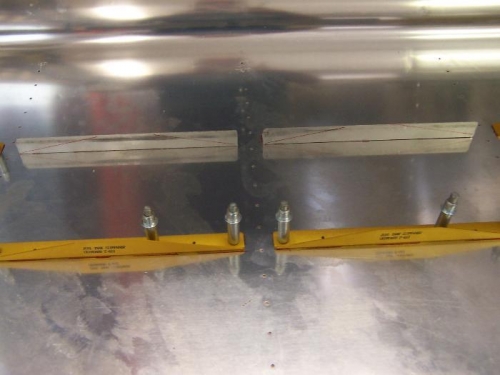
3 stiffeners missing. 1 good one is being used as a pattern for 2 fabricated ones.
Just trim up the fabricated stiffeners and keep working.
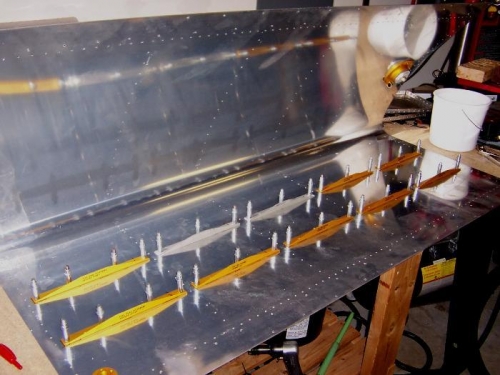
Stiffeners all in place and match drilled to skin.