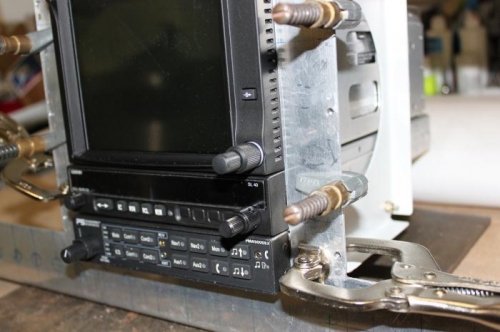
Clamped, marked, and drilled tray support holes in the two panel ribs. I am using 2 other panel ribs outboard on each side to secure whole panel. PMA5000EX audio panel tray was the challange. I had removed the back plate from the tray while I fitted these and in doing so, I did not notice that even though I flush mounted the tray and the audio panel slid in flush to panel, when I put backing plate on the tray and locked in the audio panel, it stood proud about 1/16. Drats. I removed the tray, slotted the mounting holes in the ribs and reinstalled. That worked. Then, I drilled 2 rear support holes at the back of the rib and its all good now. Other trays worked perfectly. Don't mount the PSE PMA5000EX tray flush to the panel. It doesnt work that way and the instructions didn't say anything to warn you. Put a .02 shim strip between each rib and upper two trays. The Garmins are narrower than the PMA5000EX and I didn't want to distort the trays by cranking down on the tray nuts. That worked. Now I will drill the ribs to the panel and sub panel and put a couple connecting straps on the rack to stabilize the positions.
Every 1000th counts. The opening is right on and the faceplates cover the cut lines.
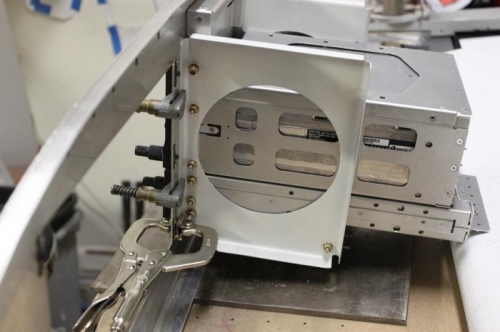
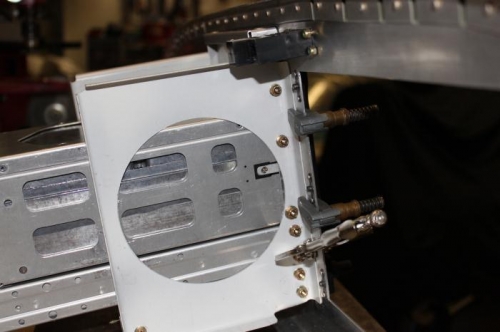
16 tray screws installed and it was lot of trial and error. I guess its because I'm new at this.
Theres a .002 shim strip under the top 5 tray screws to prevent undue stress when tightened down.