
|

|
|
|
Wendells RV-6A
|
Date: 11-20-2012
|
Number of Hours: 3.00
|
Manual Reference: Cotter Pins
|
Brief Description: Finish mounting main wheels
|
|
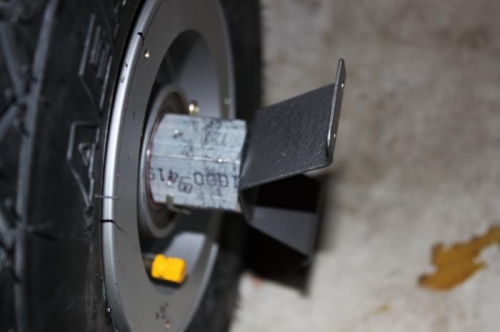
Here's what I learned today drilling the main gear legs for the cotter pins. The 1st leg takes 2 hours. The 2nd takes 20 minutes. The 2nd time you tighten the big axle nut after you drilled the hole in the gear leg, it needs to go one flat tighter. Thats about all you get with your #30 hole before it starts disappearing on you and the cotter key won't fit anymore. Don't start with a #30 bit. Start with a #40 bit, then a #34 bit, then the #30. Put the nut back on after one hole to confirm the location of the opposite hole. Start it through the cap hole just to mark the spot on the axle. Use cutting oil and drill SLOW RPMS (maybe 400 or so). If you break a bit, hope some sticks out to grab with a good pliers to untwist it out. When done with opposite side hole, run a #30 through both to make sure its squared up for the cotter pin. Don't just tighten the big nut. Burnish the drilled opening to remove sharp edges first. Lube the big nut threads and the axle. Tighten it a turn, back off one flat, repeat tightening one turn, back off, etc. That pushes any gook inwards and makes tightening the nut much easier. Replaced the brakes and safety tied the caliper bolt heads. I am done with this portion now. Not coming off the axle until annual condition inspection. :):)
|
|
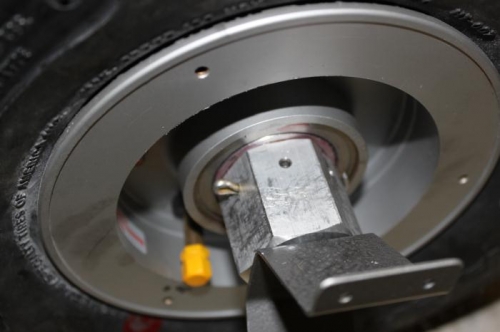
Cotter pin looks so simple. Not.,
|
|
Rule for tightening nut is to tighten until no side play, back off a flat.
|
|

032 safety wire. Heads torqued to 90 in/lbs 1st.
|
|
|
|
|
|
|
|
|
Copyright © 2001-2024 Matronics. All Rights Reserved.
|