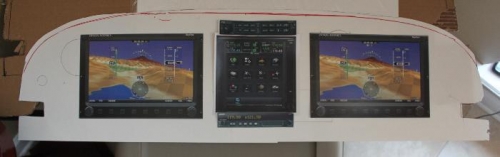
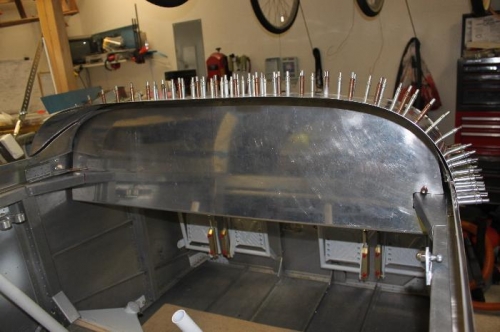
Now it was time to fix the position of the instrument panel. I took two of the F-645 instrument panel braces and with the circle cutter I cut out 5 inch circles for cross panel wiring access and lightening goals. (I actually bought two more in case needed because of the dual skyview 10 inch EFISs and GTN 750 spacing) I'll save the other two for additional spacing strength, if necessary, and to possibly use for mounting other electronic equipment between the panel and the sub panel. With the instrument panel squeezed up snug to the F-645s I marked the canopy deck rails for locating the 3/4 mounting angles on each side. Fabricated those angles, drilled them for one K1000-8 nutplate each but didn't mount the nutplates yet. Will prime first. Played with the cardboard copy of the instrument panel and placed the main equipment. Skyview 10 GTN 750 PS Engineering PM5000EX audio panel SL40 2nd Skyview 10.
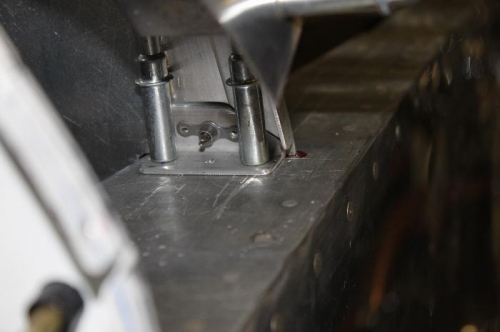
Pilot side. Same on the other side. Secures panel to deck.