Brief Description: New bearing and safety wire flap actuator
My first practice session drilling the CM-4 bearing last month was unacceptable to me. The drilled hole was too large. I had broken off a drill bit in the hole by pushing too hard and not enough lubricant and then used a #30 to drill everything out. However, it gave me practice drilling miniature holes and also safety wiring. Fast forward to today and I took a fresh CM-4 bearing and drilled a 1/16 hole with fresh drill bit and boelube. Wow. It pretty much went through like it was wood. I slowed down the drill press belt to it's slowest (700RPM) speed to make this hole. It worked beautifully. I remounted the flap actuator to determine the proper depth of the screwed in bearing and then took it to the vice and with rubberized cushions, clamped the actuator shaft in the vice and applied Vibra Tite to the threaded bearing as well as the jam nut. Waited 10 minutes and screwed in the bearing to the pre-determined depth, torqued the jam nut and then threaded a new piece of .041 safety wire through the bearing hole, did a right hand twist for 3 twists, threaded throught the flap actuator drilled hole and did left hand twists for 10 twists. Cut off the rest of the excess safety wire and turned it under. Very satisfied. Its ready to permanently mount now. Hoorayyy!!
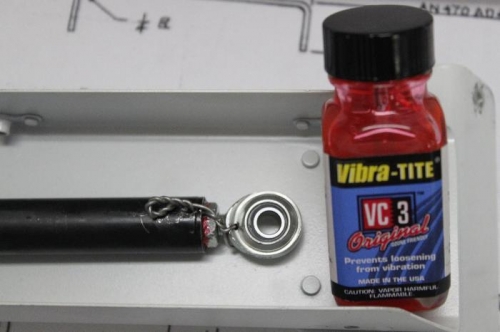
Let the Vibra Tite set up 10 minutes before threading in the bearing or torquing the jam nut.
1/16 hole drilled through bearing shoulder.
Finished threading and tightening and folding the end product under.