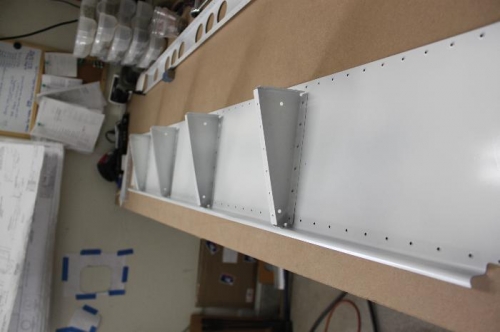
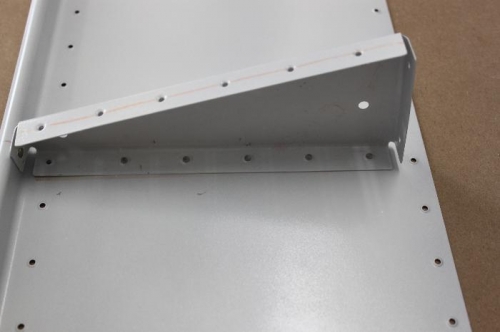
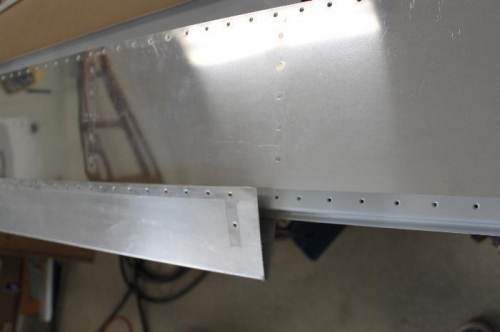
The flap seems so much easier to finish than the aileron. Step 1 - Rivet the inner ribs to the bottom skin. Squeeze the AN470AD4-4 rivet at the back of each rib. Then hand squeeze the front two AN426AD3-3s, then buck the next three. The rear-most hole in each rib waits until you slide this assembly into the top skin and then you go rivet that last line of holes later. Step 2 - Slide the bottom skin/rib assembly into the top skin. Cleco the overlapping holes and begin to buck those AN426AD3-3s. When you get to a rib hole, skip it and do the next two and then come back to the rib. That gives your bucking bar some operating room. Use a -4 length instead of -3 for each rib. Repeat that process all the way across the overlapping skin. DON'T rivet the two outside ribs at all yet. They need to go together with the Flap Spar first. I just have them in there for stability right now. That little titanium bucking bar works real well on most all the rivets. The rivet inside the rib needs a narrow bucking bar. I had one that fit fine. Keep your hand between the bucking bar and the opposing skin when you buck as a cushion to prevent dinging up the opposite skin through vibrations. More to come.
I put a new worktable top on to replace the beat up one I had.
This gets repeated for al linner ribs. Don't rivet either outer rib yet.
Slide the bottom skin into the fold of the upper skin and cleco the overlap