Brief Description: Finished Installing Tank Nut Plates
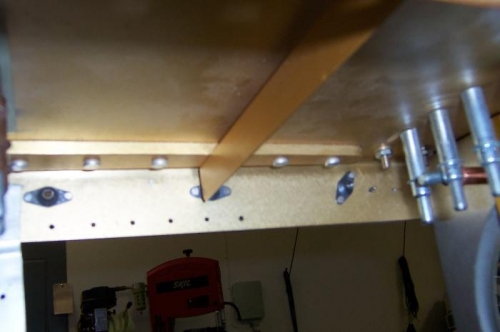
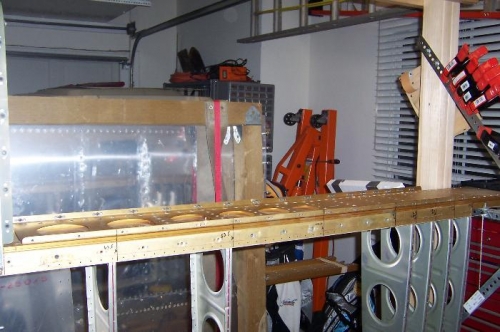
This was satisfying and frustrating, but I guess thats the way it goes sometimes. 72 nutplates complete. I primed the tank attach strip which connects the tank to the leading edge and then installed the #8 nutplates. You countersink the attach rivet holes and you dimple the #8 screw holes. That was the easiest part of this job. I took it off and did the work on the table. The hardest part of this job was countersinking about 10 of the 24 furthest aft tank attach holes. Obstructions behind those holes prevented dimpling with my tools. You have to be very careful countersinking not to enlarge the hole too much. It is not a riveting hole. It's intended to nest the dimple in the tank skin on those aft most #8 holes when screwed together. I probably drilled out 6 badly bucked rivets, mostly due to extreme narrow clearances on the inboard most rivets for bucking. I couldn't even use my trusted titanium bar. I used a steel bar with an arrowhead corner to fit in the tight spots. Tape the spar doublers nearby to prevent dinging them with the bucking bar. Test screwed every nutplate. Found one that was bad and replaced it. I cleaned the countersunk holes with MEK and sprayed some etch primer on a Q tip and dabbed around the hole to prime those surfaces. Tomorrow I will install the tank rear baffle, dimple and/or countersink the tank skin for the #8 attach screws, and be done with it, hopefully.