Brief Description: Page 71 Installing the Stow-n-Go Hatch Part 2
September 13 2012 Continued.
MODIFICATION NUMBER 11
Installing the Stow-n-Go Hatch Part 2
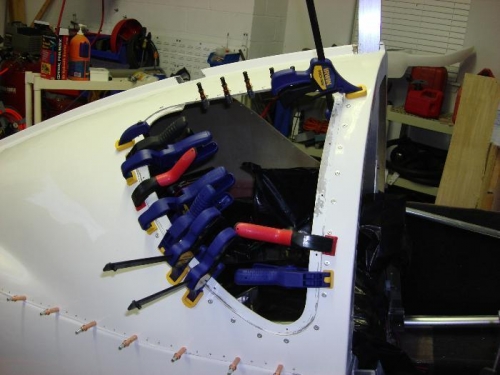
After the hole was cut in the Deck I had to sand and smooth the edges of the cut out to match the raised part of the Flange so the Hatch would sit flush with the Turtle Deck. After both sides were ready I made a Fiberglass resin paste and spread it on the Flange and riveted it to the Turtle Deck. I clamped between the rivets to smooth out the bond.
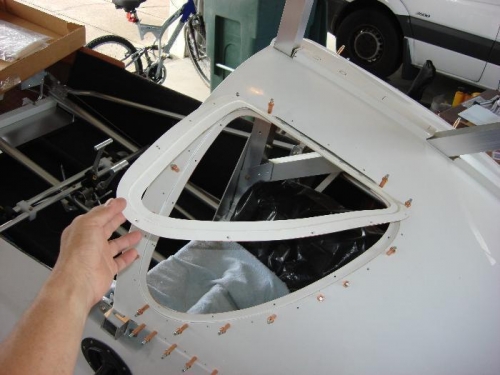
Test fit the Hatch
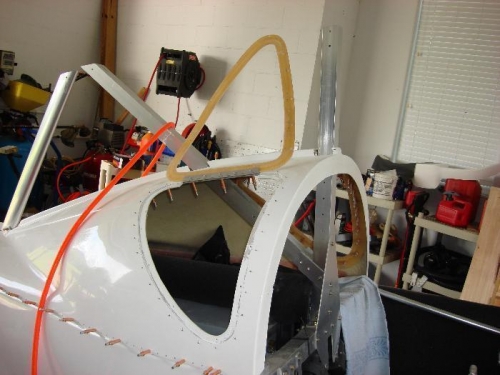
Sanded and smooth the edges of the cut out to match the raised part of the Flange
Clamped between the rivets to smooth out the bond.