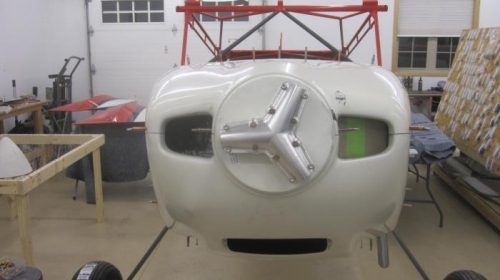
With the lower cowl in place, today I tackled the upper cowl.
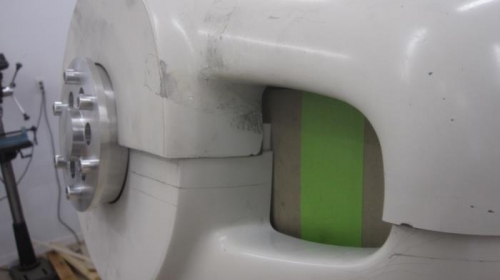
In this case, getting the fit at the front was the trick. I worked at getting the center section and the vents to about 3" back along the sides to fit well first, and after I got to that point I worked along rear top and then down along the sides. The last task was to trim the front opening around the engine hub to 1" wide per the manual.
Some tips for the cowl work -- I used a dremel with a cutting wheel for most initial cuts, which were about 1-16" proud of the line. Then I switched to a sanding drum to get it close to the line, and finally to a hand held sanding block to get the cuts right to the line and be straight and even. I also had a length of 1" diameter PVC pipe with sandpaper glued to it that helped out in the corners. The cowl sand easy, so I stopped with the power tools early before they could go to far.
I also used a jig saw with an abrasive blade for a couple cuts. This worked very well and created a lot less dust than the cutting wheel. This was especially useful for curved cuts like the spinner opening.
I marked my cuts with a pencil, and often wiped off my markings with 409 and remarked as the cowl settled into place. The dust got everywhere, and I still itch even after several showers...
There are still several little tasks left to finish up the cowl such as the oil door and landing light, but it is looking a lot more like an airplane every day!
Inital fit at the front. Patience will make this pretty.