
|

|
|
|
Steves S-20 Build Site.
|
Date: 3-6-2016
|
Number of Hours: 10.00
|
Manual Reference:
|
Brief Description: Tape over Top of Ribs.
|
|
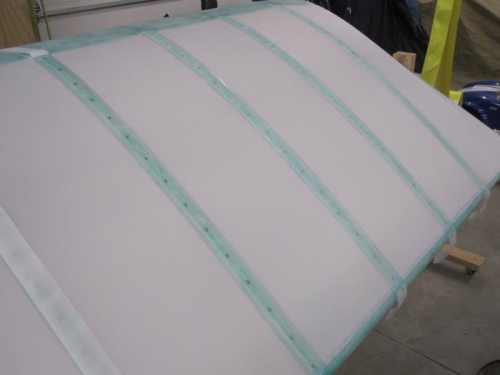
Glued the tapes over the plastic strips on the top of the ribs.
* I used the following procedure which worked well:
* I used a pair of plastic strips I bought from McMaster Carr to outline where the tape would be placed. The first strip is 1" wide, and is used to mark the first edge. The second strip is 2" wide, which marks the other side of the tape area. The ribs in my wings are not perfectly straight. I had read somewhere that it looks better to lay straight tapes than to follow the arc of the ribs, so I lined the plastic straight edges up on the first and last rivets in the ribs, and let the center of the ribs lie where it may.
* I used 2 coats of 1:1 mixture of U500 glue in the area of the tapes.
* After cutting all the tapes to length, I glued about 1/2" of the forward part of the tape lined up with the rear of the leading edge wrap and let it dry.
* With the wing at a slight angle so I could reach the entire area, but the glue would not run, I let the tapes hang off of the leading edge. Working quickly at this point, I used a 2" brush and a 3:1 mixture of MEK to U500 to apply a wet coat over the dried 1:1 glue mixture. The object here is to wet the base glue so it is tacky, but not sloppy, and work fast enough that it does not dry before you have the tape in place.
* With the base glue tacky wet, quickly place the tape, centering it on the pre-glued area as you go. Press it down to the plastic strip, and then smooth out one side, followed by the other side of the plastic strip. The tacky glue will hold it in place and let you work out all the bubbles, etc.
* Once happy with the placement, I used a 1" brush to apply more 3:1 mixture allowing it to soak through and bond with the pre-applied base mixture.
* Each rib took 5-6 minutes using this process. About half that time is available to wet down the glue and get the tape placed before the glue dries.
* I left the tails long at the trailing edge, and then trimmed and glued them as a second step.
|
|
3 down, 15 to go.
|
|
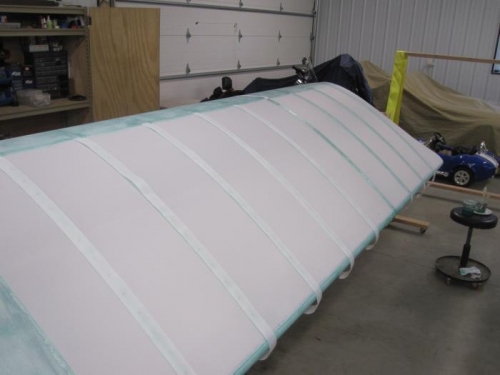
My set up. Wing at slight angle, stool used a bench to hold glue and brushes.
|
|
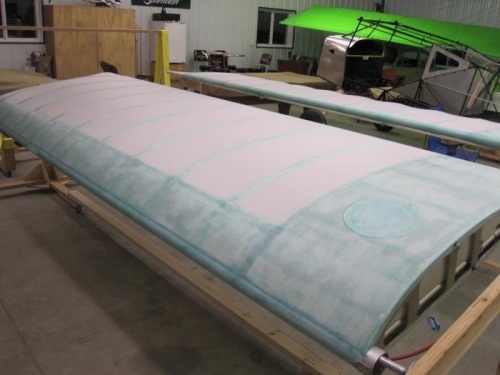
Top done, Bottom next.
|
|
|
|
|
|
|
|
|
Copyright © 2001-2024 Matronics. All Rights Reserved.
|