* I have learned that I get better results by using a glue mixture thinned to about 2.5 or 3 to one helps to get a smooth result without bubbles. My procedure has become 1) paint the frame with two coats of 2:1 and let dry. Then, with the fabric in place but pulled back to access the frame, I paint about 18 inches of the frame with the 2.75:1 and then quickly place the fabric. Then I immediately push and rub the fabric with a rag that is dripping wet with acetone. This method seems to get good penetration and rubs out most of the bubbles. The bubbles that remain are easy to iron out. Using thicker glue leaves bubbles that are full of glue under the fabric, which are really tough to work out..
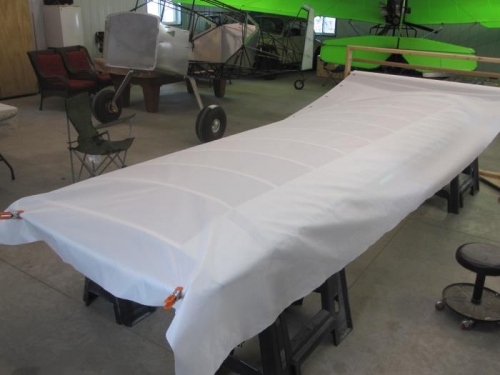
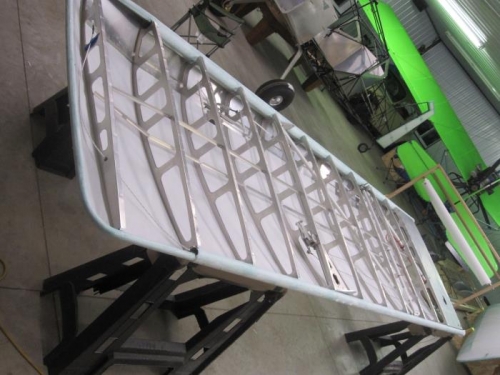
* To attach the fabric I roll it out and clamp it to the trailing edge making sure the overhang is relatively consistent. Then I glue a 1 to 1.5 inch strip along the front of the leading edge, followed by a 1" strip along the trailing edge. Then I glue a 1" wide patch around the tip and root. After the perimeter is attached I turn the wing over to trim and fasten the loose ends of the fabric. Then I turn the wing back over and do the initial shrink. The last step is to go back and paint 3:1 glue over all of the pre-glued framework to finish the fabric attachment.
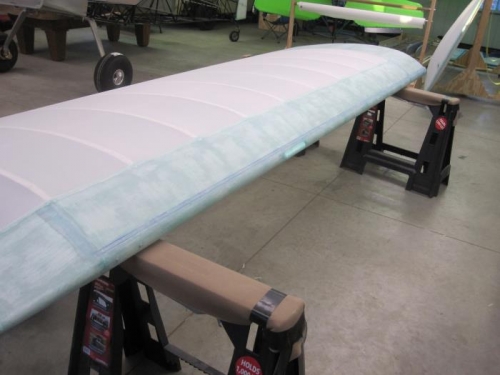
* The initial shrink will take out a lot of bubbles, but I spend fair amount of time working on the glued areas to get out all the final bubbles and get every thing nice and smooth.