
|

|
|
|
My RV-10
|
Date: 4-7-2010
|
Number of Hours: 1.50
|
Manual Reference: Sec 7-6 DWG 16A
|
Brief Description: Sealed Fuel Filler Flange
|
|
After thoroughly mixing the sealant, use Popsicle sticks to apply an approximately 1/16" thick lay.er to the parts being riveted. In the first work session rivet on the T-711 stiffeners. Back-riveting works well here, so spread a thin layer of sealant on the inside of the skin, covering the area the stiffener will contact, then insert the rivets into the skin from the outside and tape them in. Press the stiffener into place. Sealant will ooze out around all the stiffener edges.
When the stiffener is firmly seated, back rivet it permanently into place. Even more sealant will squeeze out as the rivets set. Clean this away, making neat fillets around all the edges of the stiffener with the curved end of the Popsicle stick. Dab a bit of sealant over every rivet head.
Rivet the VA-112 drain flange, T-406B fuel cap flange and T-714 clip to the skin, using sealant in the same way.
I only mixed up enough sealant to rivet the fuel filler and fuel drain flange. That was my goal for the evening work session. I had a bit of sealant left over, so instead of letting it go to waste I was able to seal a couple of the small stiffeners.
I am on vacation all next week, I live in Lakeland FL, and take the Sun n Fun week off every year. I really want to get this fuel tank completed over the next week.
|
|
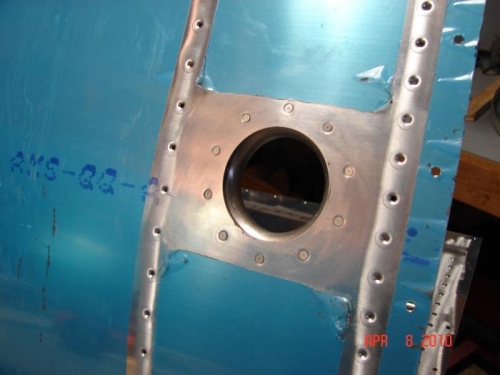
Fuel Filler Flange
|
|
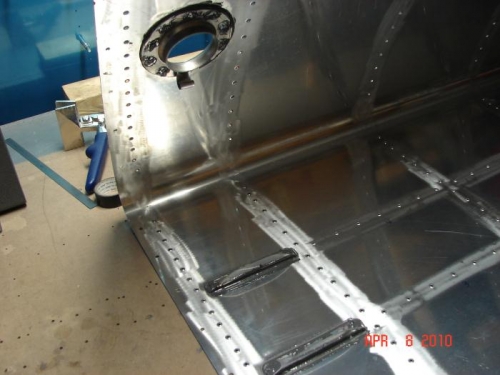
Couple of Stiffeners
|
|
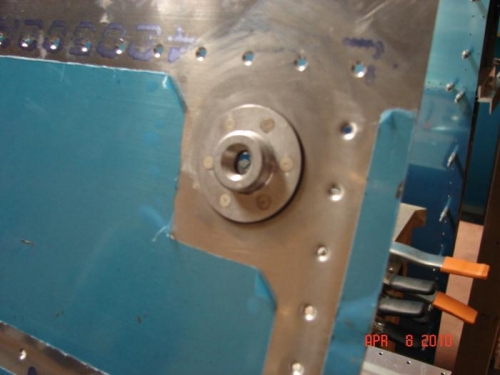
Fuel Drain Flange
|
|
|
|
|
|
|
|
|
Copyright © 2001-2024 Matronics. All Rights Reserved.
|