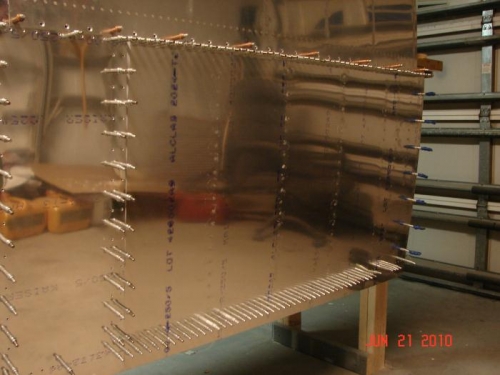
RIVETING THE TOP SKINS With the outboard leading edge riveted in place and the tank installed it is time to rivet the top main skins. While it is possible for one person to install the first set of main skins, it is much easier with two. Rivet the W-702 inboard skins first, because the outboard skins overlap them. Begin by clecoing the inboard skin in position (wing walk doublers, too) and start riveting. To assure maximum skin tightness, rivet from the center rib of each skin outward towards the root and tip. Do this on both the inboard and outboard skins, saving the double row of rivets at the lap joint until last.
Many builders find that they can get a nicer skin finish (especially when they are using less experienced helpers) if they back-rivet the wing skins. Use a large bucking bar laid over the rivet on the outside of the skin, and drive the head on the rivet from the inside using an extended back-rivet set available from some suppliers.
I had m helper with me tonight... We elected to back rivet the skins. Being her first time riveting was no issue.. She caught on quickly and we finished the inboard skin in about 45 minutes. I am happy with the results.