Brief Description: Lower Landing Gear Fairings and Wrap Sill Part 2
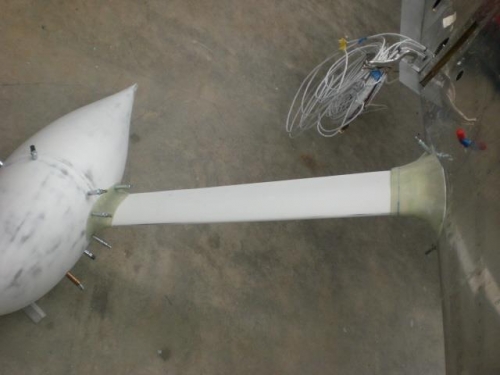
After getting the front the way we wanted it then we experimented with shallow arcs that would create the cut lines from the tangent point on the front circle to the back part of the lower fairing. It took several iterations until we got the upper and lower lines marked to look in a way that seemed good.
I use a mechanical pencil to mark a lot of fiberglass parts because it erases easily and cleanly to you don't have a bunch of lines as with markers that sometimes don't come off well even with alcohol. So we erased and re-marked the fairings. We then trimmed and cut the bulk of the material off with my dremmel and then used the belt sander to get real close to the finished profile. We then used sanding devices to finish the profile.....it came out great!!
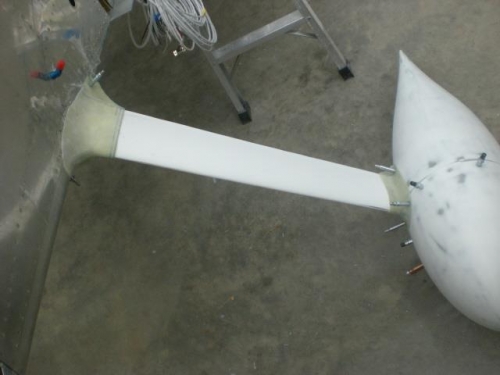
We made a pattern of the profile for the left lower fairing and cut it out and used it for the right fairing which really worked out well and saved us time so that it was complete in far less time....which is the case most of the time!! One caveat I learned is to make sure to make the fiberglass layup larger than smaller because you get close to having ragged edges to work with that may mean you need to add more material. We didn't have to....but it was close!
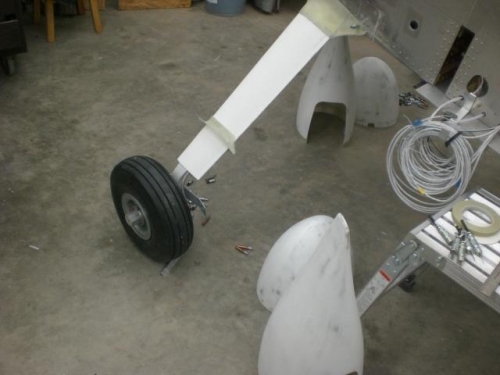
I went into the shop later and removed the wheel pants and prepped them for adding flox to the areas where the bracket attaches due to too much space.
Thanks again to Rob for his great assistance to speed up the process!