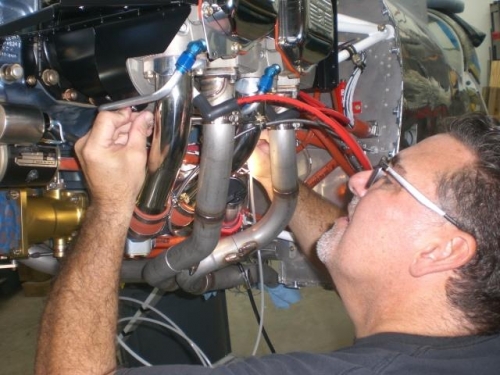
Once again hot steamy weather made it great for working indoors today. Rob texted that he would come by and work for a while if I wanted assistance with completing the lower baffle tensioning cables. I had already decided not to use the rods provided by Vans so it would be using safety wire to make "homemade cables" to pull in and hold the cylinder baffel shrouds in place.
I had modified all the stainless steel screws and inserted them in the baffles last session. Just had to make the cushion hoses and twist some safety wire and feed them in place to connect the front and back baffles.
Rob and I worked together on installing the tensioners as this worked far better with four hands than with just two. The process involved threading the safety wire through one end and cutting to the length needed. Next we fed a piece of 3/16 inch nylon tube over the safety wire just long enough to cover the goldish portion of the baffle and stay away from the actual cylinders. We then routed the wire and hoses through to the other end with the adjustable screw and threaded the wire and twisted the end. FInally using the allen wrench and the small wrench we put the final tension touch on the wire and locked the two nuts in place. I am very pleased with the results and Rob thought it was a great method.
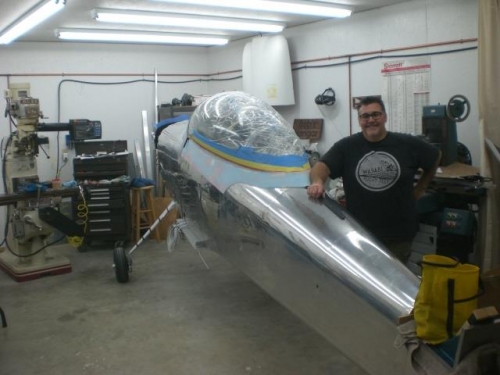
I asked Rob to help me flip the fuselage 180 degrees so the tail feathers can be put on and the fairings can be worked. Good day in the shop......many thanks to Rob again for the help!