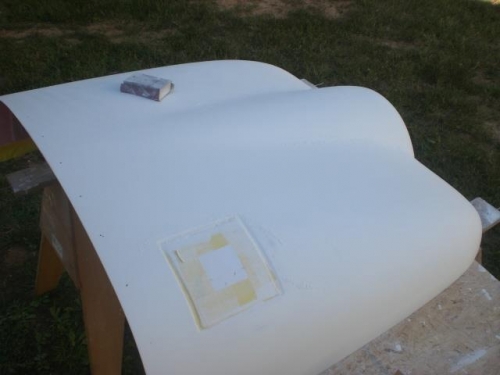
I went back out and worked the top cowl that I had coated with six coats of Smooth Prime. The rep at the company said to do 3 coats and sand...and do 3 more coates. This was due to the issue with the honeycomb divots. So I did that several weeks ago....now comes the sanding!
I got the 400grit sandpaper and started. Of course it takes a while and you need to change the paper often....YOU CANNOT WET SAND as this is a waterbased product. I used different blocks to sand. For the large flat areas I took a foam sanding block and wrapped the 400 sandpaper around it as it gave the sandpaper flexibility whereas a regular sanding block is too hard. It allowed me to work the surface of the cowl well and squeeze the block for the subtle curves in the cowl.
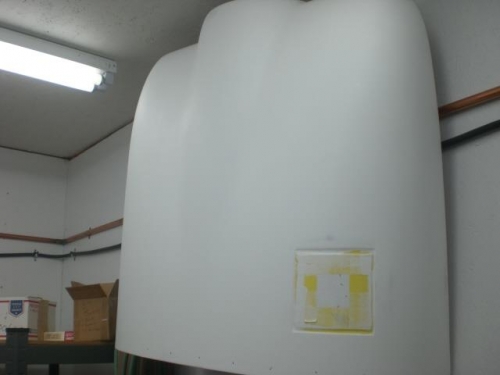
I also used a couple sanding blocks Rick had me buy some time ago that came in very handy for the smaller nooks and curves of the cowling. It took a while to get it all sanded down but it comes out as smooth as a baby's bottom!!! I have to look at the cowl again but I think it is really close to being done.
Overall I have to say that the Smooth Prime seems to do a fantastic job!!! A long day...just call me Sandy!