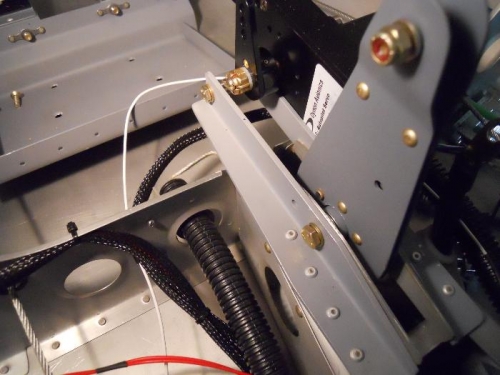
I decided to secure the dsub connectors with a couple of nylon stick on mounts in the fuse floor. I don’t like the cushion sticky tape on the mounts, so I removed it (not an easy task) and secured the mounts to the floor with some “Goop”. This stuff is just short of proseal—don’t think they are coming off. Also added another adel clamp to the flex conduit that runs close to the servo mount. I bolted the pitch servo to the mount. I added a bolt in an empty hole on the servo to use as an anchor for the safety wire from the lower bolt. Well, the safety wiring was a bit frustrating. Working in the tunnel didn’t help matters either. I applied safety wire 3 times before I was satisfied with the result. (Brought back memories of a pile of bent fuel lines-not that long ago.) After safety wiring the forward mounting bolt, I added the pivot bolt to the bell crank and torqued it to 65 inch pounds. Next session I intend to safety the rear servo mounting bolt—tying to the crank pivot bolt.