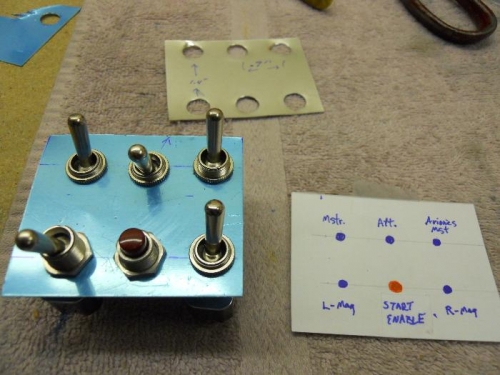
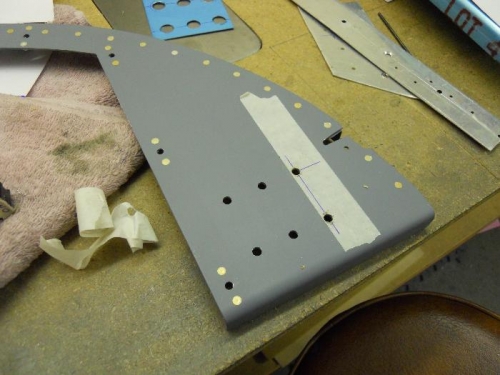
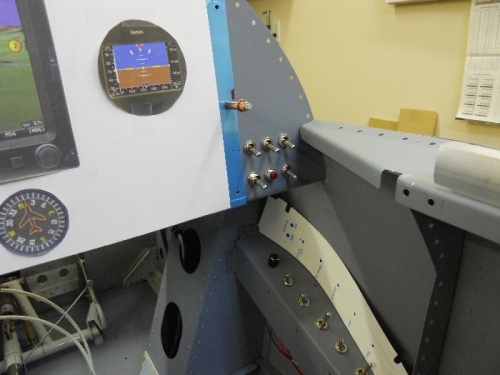
I wanted to get the panel switches mounted so that I could begin running more wiring. The switches I planned for on the right are for the master, alternator, avionics master left & right mag and a start button. On the left subpanel the boost pump switch will reside. I first made a template and mounted the switches to check spacing etc. Didn’t like the first one, so I made a second template after adjusting the width spacing as well as height spacing. I think this layout will work much better. I removed the instrument panel and sub panels. Next, I transferred the template to the subpanel. After I measured about a dozen times, I marked and center punched the hole locations. Nancy helped hold the subpanel while I used the drill press to progressively drill the holes from 1/16” up to 15/32”. I installed the switches and reinstalled the subpanel and the instrument panel. I seem to be short one switch—I know I ordered the right amount—maybe a shop gremlin ate it.