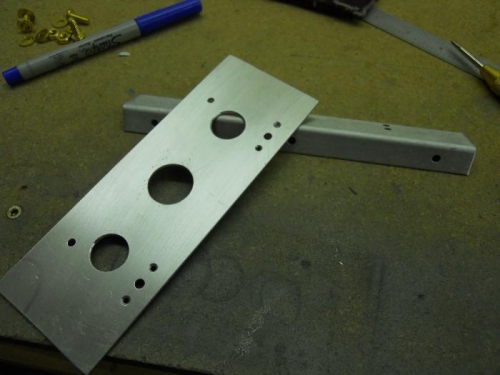
I made a template which I clamped to the forward brace . Then, I match drilled thru the holes already in the brace into the template. Transferred the template holes to the mounting plate. I drilled pilot holes in the attach angle, then screwed the angle and the mounting plate to the VP-X. Clamped everything in position and match drilled #19 the angle to the crossbar. Removed the mount and angle from the VP-X and deburred all holes. Cut some lightening holes in the mounting plate. Used a nutplate jig to drill holes in the mounting plate for some K-1000 nutplates. Countersunk the holes for NAS 1097 rivets to attach the nutplates. Scuffed the angle and the mounting plate. Tomorrow I’ll shoot some primer on these parts.