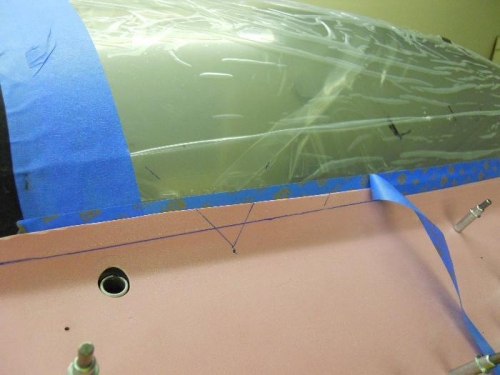
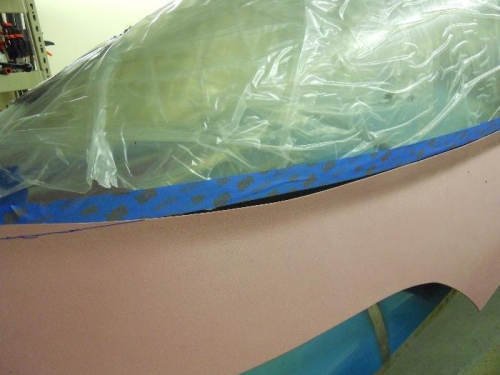
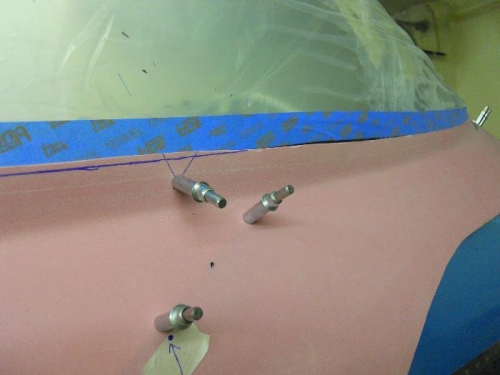
Removed both skirt halves, then removed the canopy from the fuse. Laid the canopy upside down on the work table and removed the tape along the edges on the inside and outside. Re-installed the canopy and ran a line of tape across the side of the canopy from front to rear on each side. The bottom edge of the tape is even with the Sika fillet on the inside. I think this is where I want the top of the skirts trimmed to match. Installed both skirts. Ran another tape line that matched the top of the first line. The bottom edge of the second tape line should be (I hope) in alignment with the bottom edge of the first tape I ran. Drew a line on the skirts even with the bottom edge of the second tape line. Sounds good in theory, however the line may be slightly above the bottom of the first tape line due to the fact it goes over the edge of the skirt. This should make the trim line a bit high—which is good, I can always trim a bit more. One thing I did discover is that on both skirts near the center of the curve at the back have an area that the skirt does not reach to cover the bottom of the tape line-this will leave the Sika fillet visible for about 8”. I may have to glass the skirt slightly in order to raise the top edge of the skirts. Left side is just barely visible, but the right has almost ¼” showing. These pink skirts are so much fun! Argg!