Brief Description: Trim wires, rudder install, avionics install
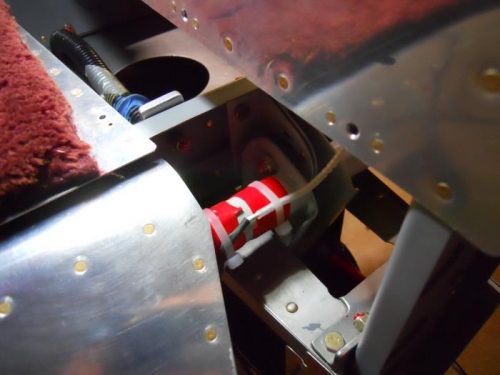
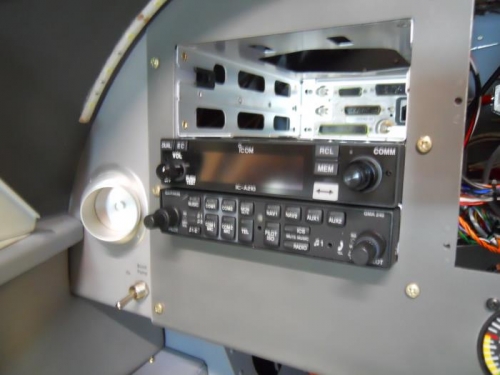
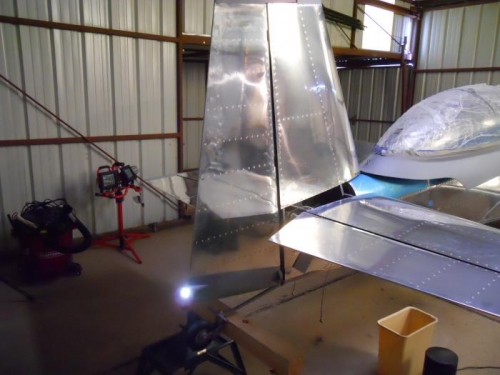
I wanted to complete the trim wiring today, so I added some heat shrink to the pins and barrels. I plugged them together and added additional shrink tubing over each connection. I wrapped the bundle with some self fusing silicone tape. I secured the wires from the trim motor to the elevator tube with zip ties. I ran the trim from the front stick--forward on the switch moves the trim tab down and back on the switch moves the tab up. Next, I tied a string to the tail light wire and fed it thru the rudder bottom—this wasn’t as simple as it sounds. The fiberglass bottom is very narrow at the back—I was finally able to reach in and grab the wire with one of those 4 prong wire grabber thingies and finish pulling it thru. Then, I installed the rudder with temp pins. I connected the wiring for the nav/strobe and turned them on to ensure a good wiring connection—it works! I also connected the rudder cables to the rudder horn, tightened the castle nuts and added cotter pins. Next, I installed the A-210 Icom radio and the GMA 240 audio unit. I removed the upper spark plugs and put the dehydrator plugs back in. Then, I removed the bottom plugs and cleaned the preservative oil off. I added some anti-seize to the plugs, re-installed and torqued to 420”lbs. or 35’lbs.