Brief Description: Epoxy cowl, begin GPS antenna mount
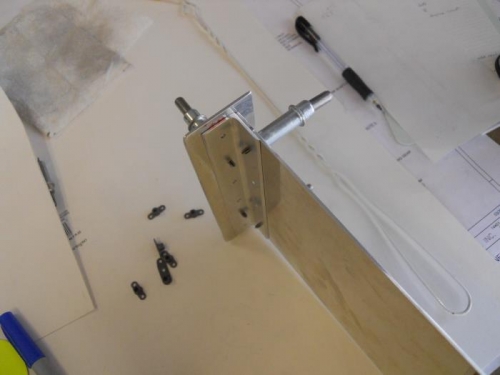
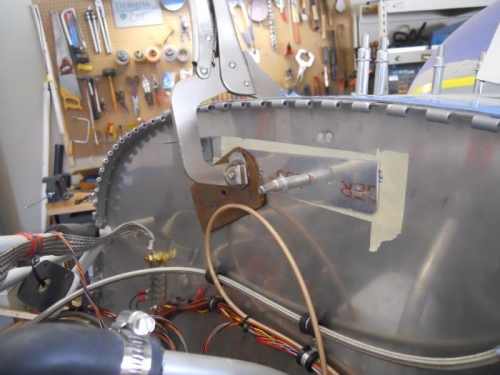
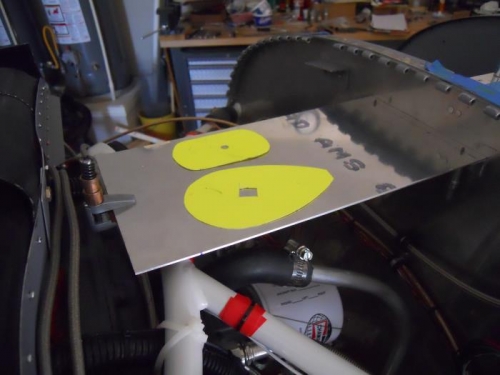
I mixed up a double batch of resin and applied to the inside of the upper cowling and part of the lower cowling. The upper in now all sealed. Near the end, I added some flox and filled some holes previously used to cleco in the upper air ramps as well as the initial holes in the nose used to keep them together—now I’ll add nutplates and screws. While the resin was drying, I began on the GPS antenna shelf. I cut some ½” angle and some .063 to use as a backing plate inside the baggage compartment. I drilled the angle piece to the backup plate, then used the backup plate as a guide to drill holes in the firewall. I cut a mounting plate from .063 and drilled it to the angle piece. I’ll attach this plate to the angle with nutplates and screws so that it can be easily removed. The angle will be riveted to the firewall and backing plate. For the front of the mount, I will use a couple of adel clamps to secure the mount to a cross bar on the motor mount. Dang, I don’t have any adel clamps big enough to fit the cross bar—so another order off to Spruce. I’ll move back to the cowling for a few days while waiting for parts.