Brief Description: Cowling nose and hinge pin covers
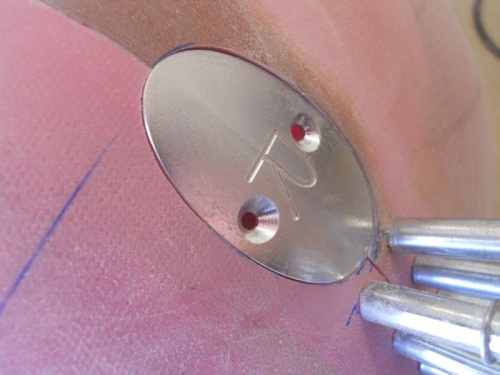
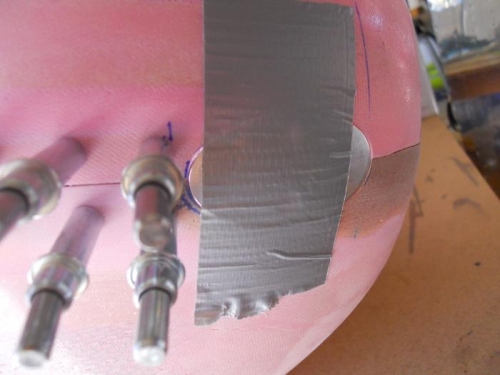
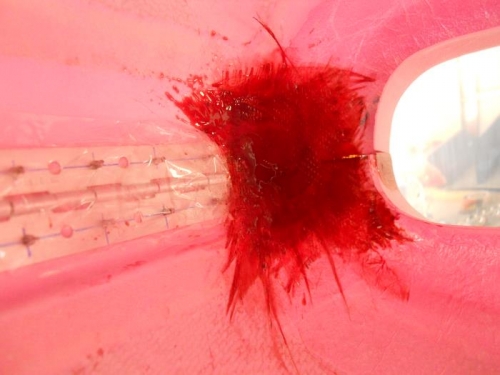
I removed the clay “dams” and excess resin, then sanded the face where I had built it up, as well as some other low areas. Now it just needs some filler to even things out. I mixed up some resin/micro and spread in the low spots. Next, I worked on the hinge pin covers. I had previously cut holes for the pin covers, but they needed some fine tuning to fit the covers. I sanded with my dremel until I had a good fit for each blank cover. The kit comes with a L and R blank for fitting and then polished covers for after all the fitting, glassing etc. I covered the ends of the hinges and the back sides of the blank covers with packing tape and taped the blanks into position from the outside. I mixed up some resin and wet 8 pieces of glass squares (4 on each side). I applied this glass on the inside of the cowling over the blank pin covers—kinda hard to reach from the back of the cowl, but got it laid up and smoothed out. After the glass cures, I’ll drill for nutplates, then pop the blanks out—at least that is my current plan (always subject to change).