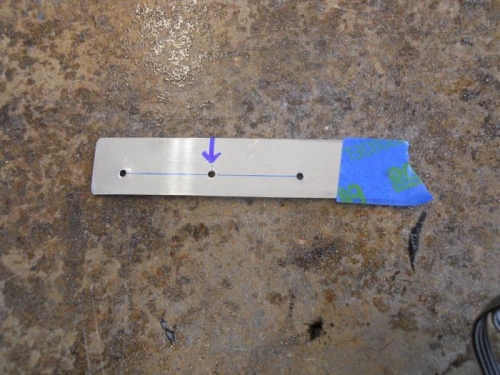
I installed the right wing tip, marked what was excess on the flanges, and proceeded to sand them down until I had a good fit with the end of the wing. I taped the tip in position and match drilled thru the existing holes in the wing skin to #40. With the hinge method of attachment, what I’ve read on blogs indicate that the existing holes (designed for #6 screws) are too far apart for using rivets. Several builders used a rivet spanner to lay out and drill new holes between the existing holes. Well, I don’t have a rivet spanner, so I made a template from some .025 scrap. I punched a hole in one end, clecoed and clamped to the wing skin and used my Whitney punch to add another hole in the scrap using the wing skin as a template. Then I drew a center line on the scrap and punched a hole in the center equal distance from the end holes. I clecoed this template to the wing skin and used the Whitney to duplicate punch the center hole. Repeated this process about 60 times. I ended up having to make up about 4 templates since some of the existing holes in the wings were not the same distance apart. I punched a total of 68 new holes in the 2 wings.