
|

|
|
|
Steve & Nancy Riffe
|
Date: 3-16-2014
|
Number of Hours: 2.00
|
Manual Reference:
|
Brief Description: Empennage Fairing-Final
|
|
I reinstalled the HS followed by the VS. Because of the curve in the lower aft fairing, I could not get a c/s cage to fit. So, I cut a small relief in the fairing to make a flat surface surrounding the hole for the screw. I made a tab from some .040 stock and drilled a #28 hole, followed by a countersink. Then, I shaped the tab to fit the flat surface around the screw hole in the fairing. This tab allows the screw to spread the surface tension over a larger area when tightening down the screw. I installed the fairing using tinnerman washers and #6 screws. The small tabs on the lower fairing worked out well. I still have a couple of areas between screws that have a very slight pucker. I removed the fairing and worked these areas with a heat gun. Reinstalled the fairing—however, I could not tell a significant difference in the slight puckers. This may be something that I will have to live with. I removed the fairing, VS & HS and moved them back to storage. In looking back, I spent way too much time making this a one piece fairing—if I had it to do over again, I probably would just follow the plans design. Having said that, I am very pleased with the way the fairing turned out.
|
|
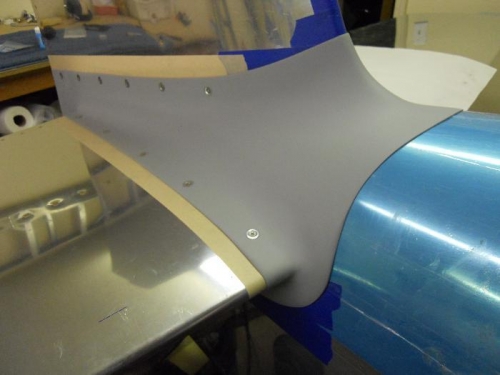
Fairing installed
|
|
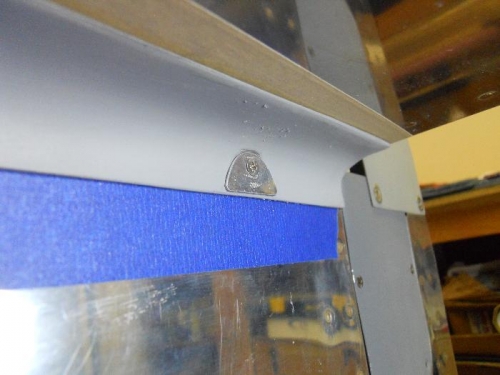
Tab for attaching lower fairing
|
|

Camera does not show the slight pucker, but it is there
|
|
|
|
|
|
|
|
|
Copyright © 2001-2025 Matronics. All Rights Reserved.
|