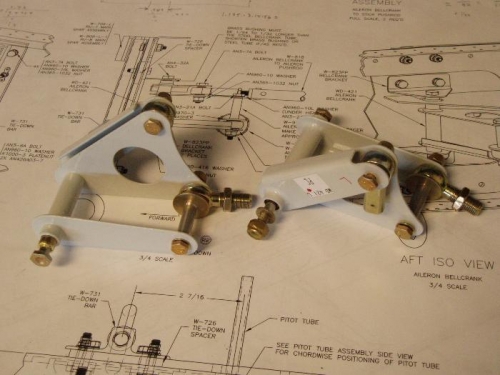
I studied the drawing a lot to understand the bellcrank assembly, what bolts and washers I would need, and what spacers I'd have to make. I made the spacers per length called out on the drawings, although the drawing calls them "approximate." I made the spacers by cutting the tubing to length on the band saw and sanding the ends square on the belt sander, and smoothing rough edges on the scotchbrite wheel. I also primed the spacers.
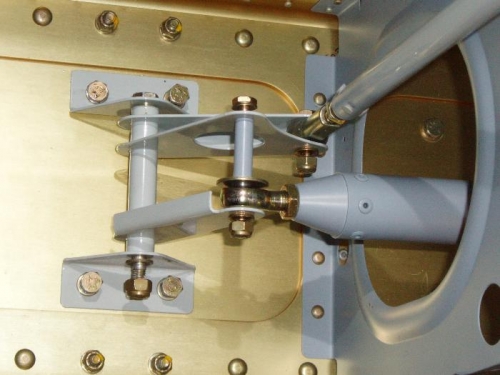
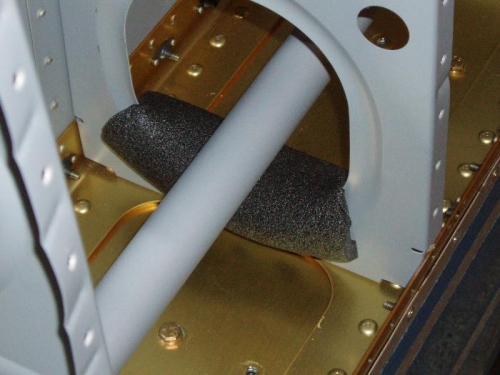
I assembled the bellcranks on the workbench. Then I installed the bellcrank on the wings with the pushrods. I used some foam pipe insulator on the wing ribs to protect the push rods from getting scratched up.