
|

|
|
|
Jims Web Site
|
Date: 2-17-2011
|
Number of Hours: 3.10
|
Manual Reference: 6ZU1
|
Brief Description: Added reinforcements to nose rib 1
|
|
1. Cut nose rib #1 back to allow for spar stiffner.
2. Marked 6ZU1-4 to fit rib #1.
Note: 6ZU1-4 will not fit on the inboard side of nose rib 1 and pick up the necessary mounting holes. Mounted outboard.
3. Cut 6ZU1-4 to appropriate size.
4. Clecoed nose skin in place to insure fit.
5. Created #40 pilot holes in 6ZU4-1 to mount to nose rib #1.
6. Positioned 6ZU4-1 and back drilled into nose rib 1, clecoing as each hole was drilled,using #40 bit.
7. Opened holes with #20 bit, clecoing as each hole was opened.
8;. Added bolt holes at top and bottom of 6ZU4-1.
9. Removed nose skin, 6ZU4-1, and nose rib 1.
10. Deburred parts, and primed with zinc chromate.
11. Positioned 6ZU1-5, and marked for size.
12. Cut 6ZU1-5 to match space.
13. Drilled pilot holes in 6ZU1-5 with #40 bit.
14. Positioned 6ZU1-5, back drilled with #40 bit, clecoing as holes were back drilled.
15. Back drilled bolt holes in 6ZU1-5.
16. Removed 6ZU1-5, deburred, and primed mating surfaces with zinc chromate primer.
17. Clecoed 6ZU1-4 to nose rib 1 with A5 rivets.
18. Positioned 6ZU1-4 sand nose rib, clecoing nose rib.
19. Reclecoed nose skin to nose ribs.
20. Bolted 6ZU1-4 to spar with appropriate length an3 botls.
21. Riveted 6ZU1-4 to spar with A5 rivets.
22. Removed nose skin clecos
23. Positioned 6ZU1-5 between nose ribs 1 and 2.
24. Bolted to spar with appropriate length AN3 bolts, AN960 washers and locknuts.
25. Riveted 6ZU1-5 to nose skin.
|
|
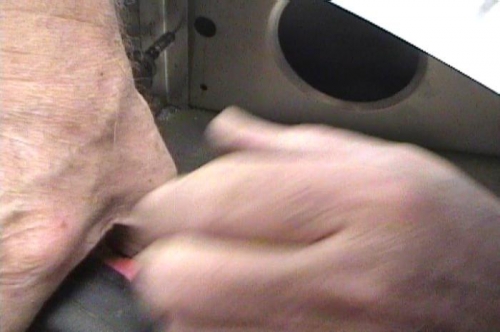
Back drilling pilot holes
|
|
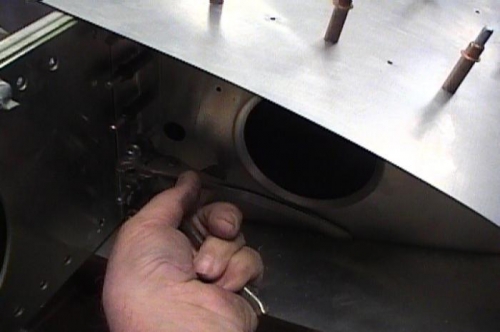
Opening holes for A5 rivets
|
|
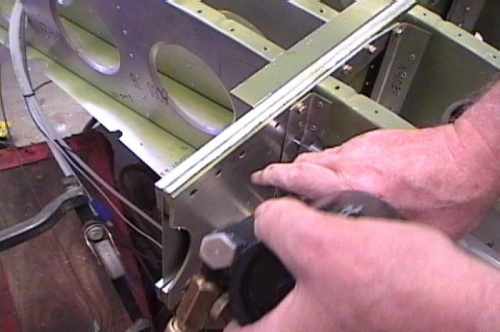
Riveting bracket to spar
|
|
|
|
|
|
|
|
|
Copyright © 2001-2024 Matronics. All Rights Reserved.
|