
|

|
|
|
Jims Web Site
|
Date: 2-16-2011
|
Number of Hours: 7.30
|
Manual Reference: 6ZU1
|
Brief Description: Added reinforcements to nose ribs 2 and 3
|
|
1. Removed nose mounting rivets for wing ribs 3 ande 4.
2. Removed forwaredmost underside rivets for nose ribs 2 and 3.
3. Drilled out spar rivets between ribs 2 and 3, top and bottom.
4. Cut 6ZU1-3 to fit outboard of nose rib 3
5. Cut 6ZU1-4 to fit inboard of nose rib 3.
6. Drilled pilot holes in 6ZU1-3 to mount nose rib.
7. Back drilled mounting holes for back lip of 6ZU1-3.
8. Clecoed 6ZU1-3 in place.
9. Fit 6ZU1-4 in place alongside of nose rib 3, and back drilled upper and lower bolt holes.
10. Bolted 6ZU1-4 in place.
11. Replace nose rib 3.
12. Back drilled 6ZU1-3, nose rib 3, and 6ZU1-4.
13. Removed nose rib 3, 6ZU1-3, and 6ZU1-4.
14. Deburred, and primed with zinc chromate primter.
15. Replaced lower rivets on wing rib 4.
16. Bolted 6ZU1-4 in place with AN3 bolts of appropriate length.
17. Clecoed 6ZU1-3 to nose rib 3, and ZU1-4.
18. Clecoed 6ZU1-3 to main rib 4 and spar.
19. Replaced clecos with A5 rivets.
20. Using another 6ZU1-3 and 4, performed a similar procedure to nose rib 2.
21. Installed 6ZU1-5 between nsoe ribs 2 ande 3.
Note: this was an error. It should have been installed between nose ribs 1 and 2. SInce it is stronger installed than removed, it was left in place.
|
|
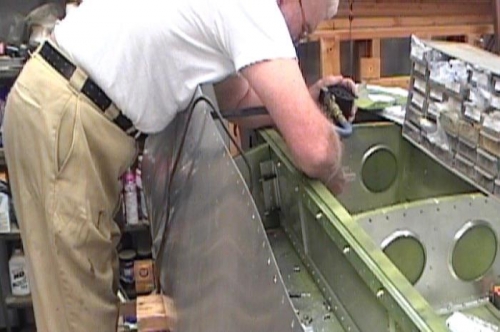
Removed nose ribs 1,2, and 3
|
|
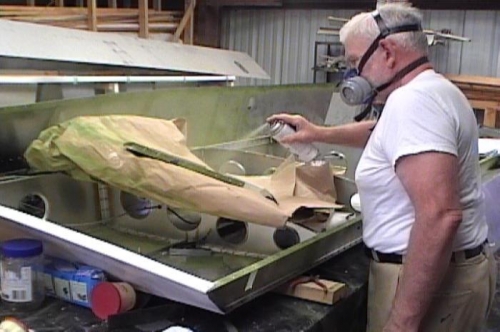
priming added parts
|
|
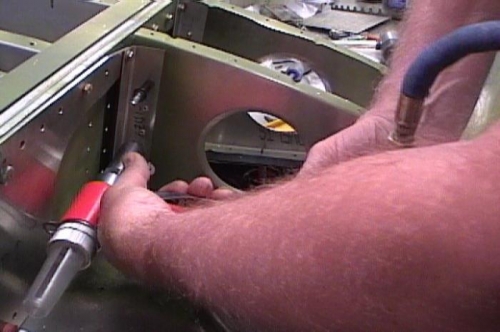
riveting in place
|
|
|
|
|
|
|
|
|
Copyright © 2001-2024 Matronics. All Rights Reserved.
|