
|

|
|
|
Jims Web Site
|
Date: 2-4-2013
|
Number of Hours: 7.90
|
Manual Reference: 6C3
|
Brief Description: Installed new canopy
|
|
Finally, it was time to install the new canopy. By now, I'd done this enough times that it was almost second nature.
I slipped the canopy in place; I worked with the canopy seal fore and aft, and to get equal spacing port and starboard. When this was achieved, I marked the port side for the entry lock cutout.
After the entry lock cutout was made, I loosely installed the lock, and returned the canopy to its previous position.I drilled the holes holding the canopy to the front and aft supports (6C3-1 and 6C3-2) with a #40 bit, cleoing as holes were drilled. Holes were drilled starting at the top, and working any error downwards.
WIth the outside flashing (6C3-8) in place, I drilled the center holes for the side canopy screws with a #40 bit, and clecoed this in place. I then clecoed these pieces to the airframe in the row of holes below this.
With the canopy in place, I marked locations requiring removal of the protective coating, and those requiring any special holes.
I removed the clecoes and the canopy, and opened the attachment holes with a plexiglas bit. I then returned the canopy to its correct location, and began installing the screws holding the canopy to 6C3-1 and 6C3-2. I again began at the center, and worked my way to the edges.
Wen this was complete, I riveted the outside flasing to the airframe.
The canopy was then rotated to the "up" position, and the front seal was installed. I also tightened the lock screws.
|
|
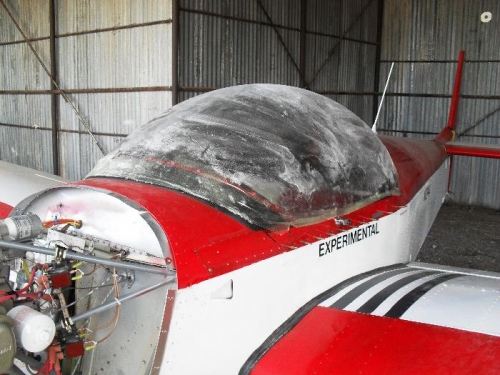
Canopy in place
|
|
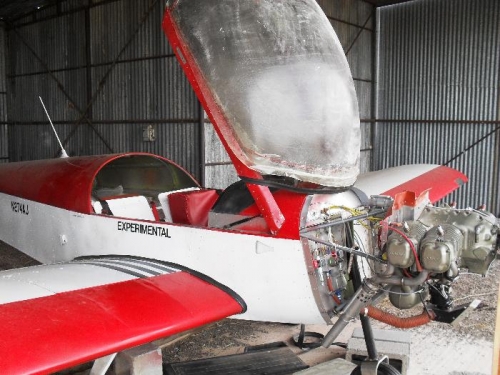
Installing front seal
|
|
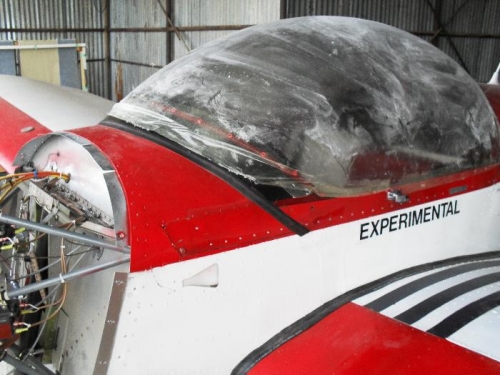
Fit check with front seal
|
|
|
|
|
|
|
|
|
Copyright © 2001-2024 Matronics. All Rights Reserved.
|