
|

|
|
|
Jims Web Site
|
Date: 5-26-2011
|
Number of Hours: 2.50
|
Manual Reference: 6C3
|
Brief Description: Built replacement 6C3s
|
|
I managed to misread the plans when I initially cut and installed the ouside flashings, 6C3-3. I began wondering how the assembly would keep rain out, with these skins flush with the side sills of the aircraft. A careful check of the plans indicated they wouldn't. They needed to be about 1/4" below the sills, to form a seal.
But the top side really needed to be about where I'd positioned it. After some soul searching, I decided to fabricate new parts out of scrap.
1) Using existing 6C3-3s, trace outline on sheet aluminum.
2) Draw a new bottom edge, 1/4" below the existing, making a slightly larger part.
3) Cut new parts, using an Olfa knife and a drywall square.
4) Trim and debur.
5) Position the old parts along the top edge of the new, and clamp in place.
7) Back drill existing mounting holes with a #30 bit, clecoing part as each hole was added.
8) Debur holes.
9) Test fit on aircraft to insure correctness.
10) Mark cut line on fopre and aft of part.
11) Cut with Olfa knife, and debuff edge.
|
|
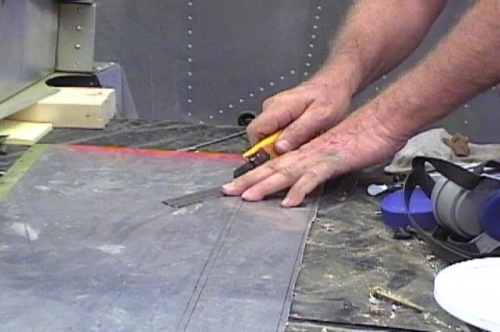
Cut replacement parts with Olfa knife
|
|
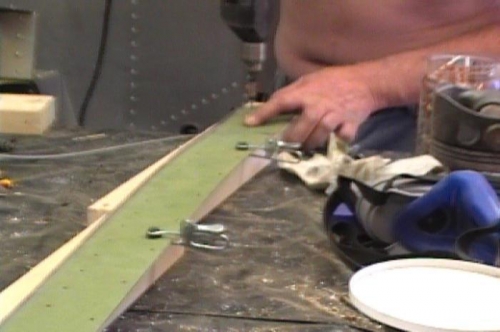
Back drilled mounting holes
|
|

Test fit on aircraft
|
|
|
|
|
|
|
|
|
Copyright © 2001-2024 Matronics. All Rights Reserved.
|