
|

|
|
|
Jims Web Site
|
Date: 10-1-2010
|
Number of Hours: 2.50
|
Manual Reference: 6B21
|
Brief Description: Installed saddle 6B21-5
|
|
The last few days have been nightmares. It has become clear that the canopy rairs have been damaged beyond repair, and must be replaced. I have new ones on order, and I have removed the old ones.
Meanwhile, workarounds continue.
1) Positioned horizontal stabilizer-fuselage saddle, and marked location.
2) Drilled #40 holes in front of saddle, and affixed to fuselage.
3) Removed saddle, and determined length of mounting "L" angles on aft section.
4) Cut and filed "L" angle sections.
5) Drilled pilot mounting holes in "L" angles with #40 bit.
6) Positioned "L" angles, and taped in place. Back drilled #40 holes, and clecoed.
7) Deburred holes, and primed "L" angles.
8) Riveted "L" angles to elevator with A4 rivets.
9) Clecoed and taped saddle in place.
10) Determined location of holes to mount saddle to "L" angles.
11) Removed saddle, and pilot drilled mounting holes with #40 bit.
12) Re-clecoed and taped saddle in place. Back drilled and clecoed mounting holes.
13) Opened all mounting holes with #20 bit.
14) Deburred, and installed nut places in all locations.
15) Opened screw holes with $15 bit.
16) Mounted saddle with machine screws
|
|
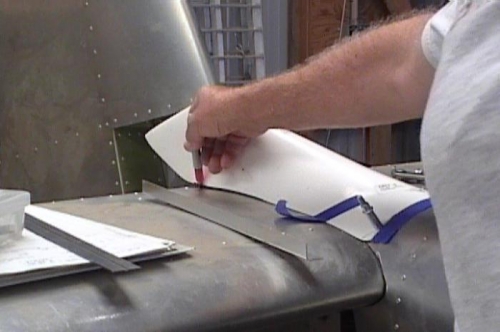
Marking location of saddle
|
|
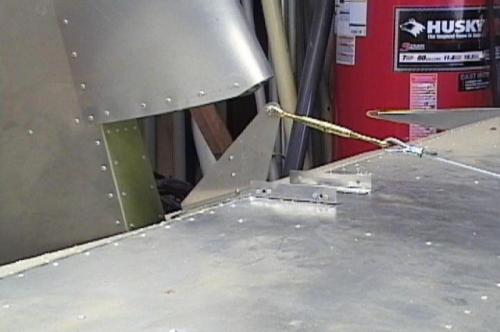
Rear saddle mounts in place
|
|
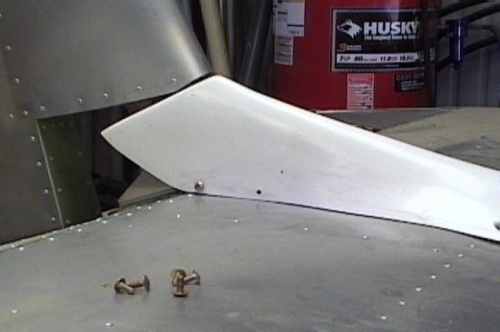
Saddle positioned, and first mounting screw in place
|
|
|
|
|
|
|
|
|
Copyright © 2001-2024 Matronics. All Rights Reserved.
|