
|

|
|
|
Jims Web Site
|
Date: 4-26-2010
|
Number of Hours: 1.90
|
Manual Reference: (none)
|
Brief Description: Built & installed ELT access panel
|
|
Notes: As documented elsewhere in these pages, an ELT was added at the aft bottom fuselage station. While this appears to be the best location for an ELT, it makes ELT access for battery replacement or other maintenance difficult or impossible. I added an access panel in the fuselage bottom, secured by 6 #10 locking nutplates and machine screws.
1. Sized cutout requirements, based on ELT and hand size. Panel will be 150x200 mm.
2. Determined panel location - fuselage bottom, just fwd of ELT.
3. Cut out 150x200mm .025 6061T6.
4. Smoothed edges.
5. Created seam 10 mm inboard of each edge for stiffening and nut plate offset.
6. Punched and drilled #40 pilot hole 10mm from each corner, and senterd on longest side.
7. Positioned panel centered side to side fwd of ELT, and masking taped in place.
8. Back drilled 6 #40 pilot holes.
9. Marked rectangular cutout area inside pilot holes, with guard zone.
10. Center punched and drilled 1/4" holes in each corner to relieve stress.
11. Cut out area between stress relief holes.
12. Filed edges to cutout line, and smoothed.
13. Clecoed access plate to bottom of aircraft over cutout.
14. Back drilled pilot holes with #20 bit, and removed access panel.
15. Positioned nut plates with #10 screws, and drilled #40 holes through mounting holes in nut plates.
16. Cleaned and deburred everything.
17. Mounted nut plates with A3 avex rivets.
18. Installed access panel with #10 screws.
|
|
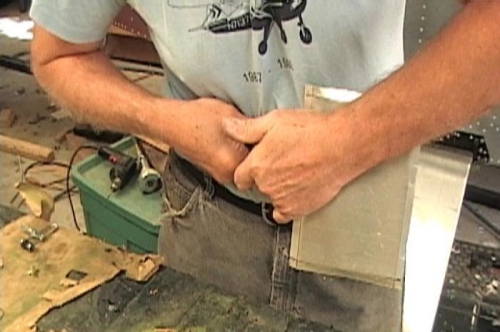
Flanging the panel
|
|
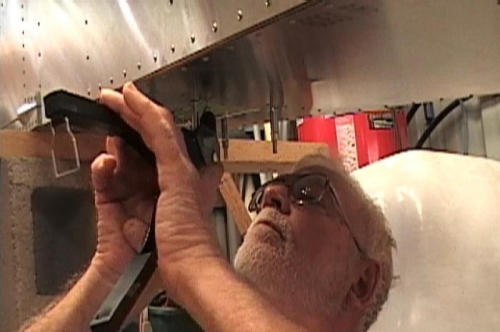
Installing nut plates
|
|
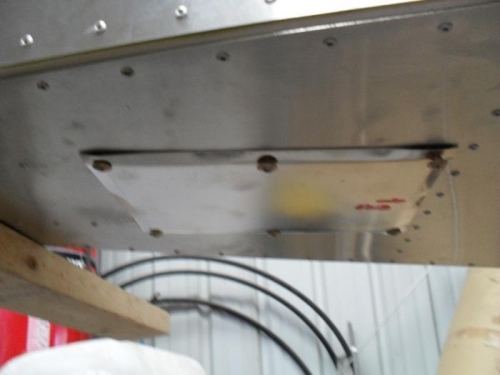
Panel in place
|
|
|
|
|
|
|
|
|
Copyright © 2001-2024 Matronics. All Rights Reserved.
|