
|

|
|
|
Jims Web Site
|
Date: 3-13-2012
|
Number of Hours: 2.50
|
Manual Reference: (none)
|
Brief Description: installed tach and hour meter
|
|
After much debating, I decided against installing the round steam gauge tach I had on hand. It simply took up too much panel room that I wanted for something else. I ordered a digital unit.
I have some reservations about it. I believe it will be accurate enough, but:
1) I believe it may be difficult to get the spark pulse through the shielded leads, and
2) There is no way to change the internal battery.
That means it will eventually fail. By then, however, I should have a more permanent solution.
Although the digital tach incorporates an hour meter, I decided to install an hour meter I have on hand, which is a mechanical device. If the tach fails, I don't want to lose the engine hour readings.
I did not connect either unit to power, as I don't want them to start recording information until the first engine run.
1. Positioned tach on panel.
2. Marked holes to mount tach.
3. Drilled holes, and temporarily mounted the unit.
4. Found position for lead coming out bhottom of tach to engine.
5. Drilled hole for lead, and deburred.
6. Fed tach lead through hole.
7. Marked position and mounting holes for Hobbs meter.
8. Cut opening in panel for meter, and drilled holes.
9. Filed, deburred, and installed meter in panel.
10. Meter is not polarized. Connected one lead to ground, and left pigtail to connect to switched master power.
|
|
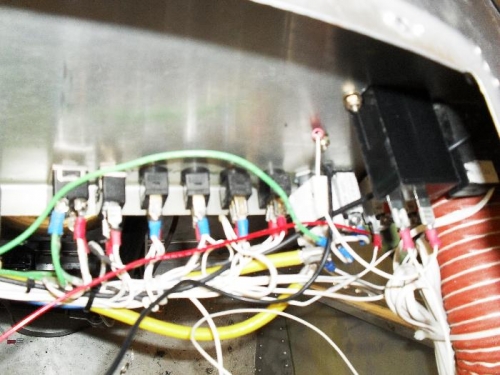
rear view of tach and hobbs
|
|
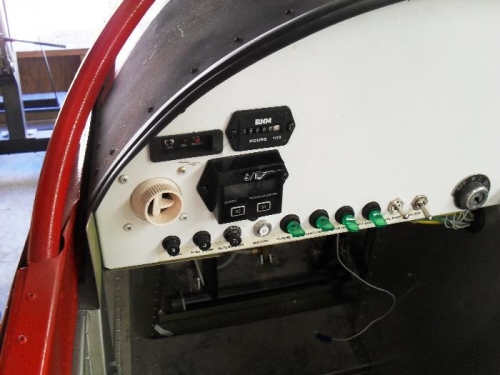
front view
|
|
|
|
|
|
|
|
|
Copyright © 2001-2024 Matronics. All Rights Reserved.
|