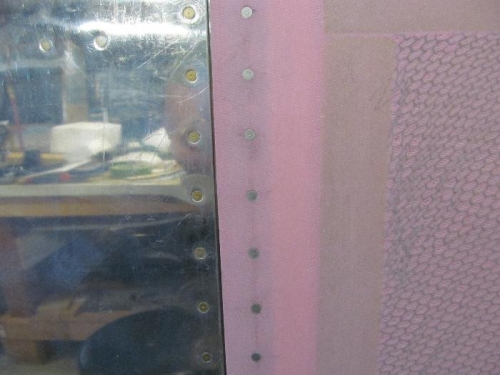
After cleaning up the epoxy from the back of the hinges around the rivet holes I set to the riveting work. I used the pneumatic squeezer and set the rivets just a bit under what I would for aluminum. I did this riveting with clecoes in every other hole even though the hinge was epoxied onto the cowl. I also had the hinge pin installed to keep things aligned. I also did not remove the lower cowl to rivet the horizontal hinge line. I could reach all the rivets except the last one by the firewall and 5 in front of the #4 valve cover, the cowl is too close here to get the squeezer on it.
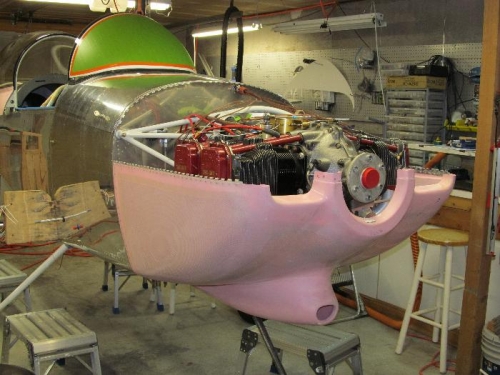
After removing the lower cowl I counter sunk the vertical rivet lines after cleaning up the epoxy residue. I then riveted those hinge lines. I am please with the work and it is nice to see the lower cowl on without clecoes.
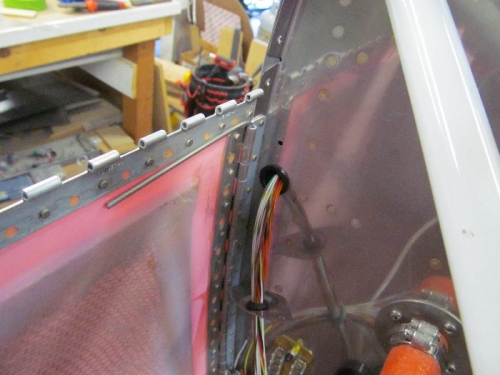
I cut and installed the .120 stainless pin for the vertical hinge lines, I bent a 90 degree handle that is 3” long. This bend was made so that the handle sits towards the front of the plane. When the pin goes in the curve of the pin and the bend direction in the handle makes the handle sit naturally next to the cowl, kind of a spring action. If it tries to move up due to vibrations it will hit the horizontal hinge so it can only move an inch or so.
I plan to put a couple rubber grommets on handle to protect the cowl.