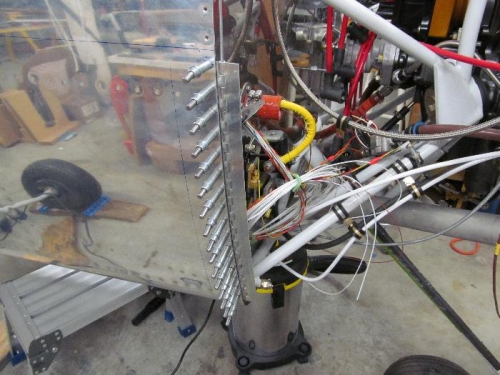
I did more work on the cowl fitting; this is a bit of a slow process because it takes a bit of time to wrestle the lower cowl into position each time. I measured and set the location for the side hinges. The plans call for the side (horizontal) hinge to butt against the side (vertical) hinges. I plan to use half of a -4 hinge (1.5” wide total) with the supplied -3 hinge (1.25” wide) this allows you to set the lower hinge high so that you don’t see the seams of the hinge eye pattern. To do this it required the minimum edge distance at the top hole, since after accounting for the width of the hinge this places the upper part of the side (vertical) hinge just above the rivet hole in the firewall flange.
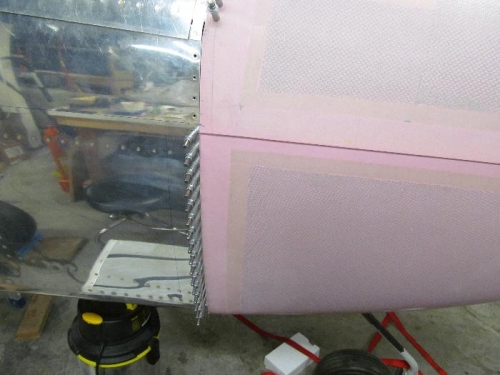
I then clamped and drilled the fuselage side of the hinge. Like the top hinge, I set it so the cowl will cover the hinge eyes, you can do this with the 1/8” hinge since it leaves plenty of edge distance for the rivets, not so with the horizontal 3/32” hinge. Essentially you set the valley in the hinge eyes to be at whatever gap you plan for paint, 1/16” is what the plans call out. This will make for all solid material between the fuselage side and the cowl side, one painted it should make for a nice smooth looking line.
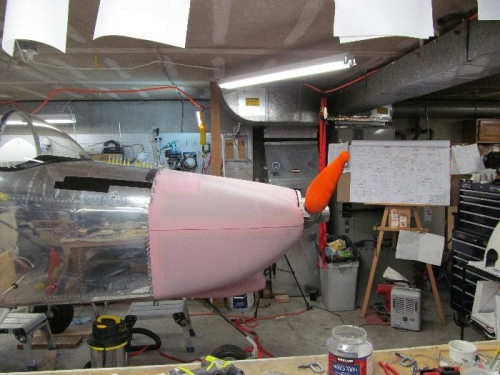
I then test fit everything, I can now have the cowl up with no straps! It will have to come off one more time since I need to sand the vertical sides just a bit more.
This shot shows how the valley in the hing is set 1/16 away from the skin