
|

|
|
|
RVGator
|
Date: 1-5-2009
|
Number of Hours: 3.00
|
Manual Reference:
|
Brief Description: Interior Paint Complete
|
|
Well good or bad the painting of the interior is complete. I only had to do the removable floor panels. I added a picture with the forward seat floor in with the foot wells. The forward floor panel slips in easily, I did not try this with the rear floor panels since they will rub getting them installed. I did not want to risk chipping the new paint, but it was really hard to resist a trial fit, just to see how it looks. I also taped up the area around the left and right lower longeron that is under the consoles. It just looked funny working in this area with no paint, I know it will be hidden by the console but I just had to paint it . I also thought you could see some of the forward left sidewall which I had not painted so I gave that a light coat of paint as well.
I am very pleased with how it turned out, now time will tell how if it is durable. Painting is one of those areas I have little experience with, things like how thick a coat how much time between coats, when to sand when recoating, are things for which I have no answers. Live and learn, I guess I can always strip the paint and try again if it gives me trouble. Now it is time to continue where I left off which was installing fuel lines.
|
|
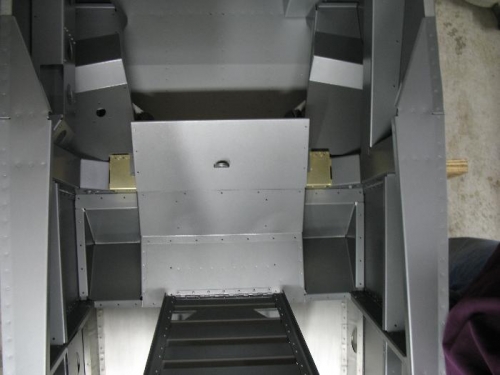
Shot from above front seat, top is forward
|
|
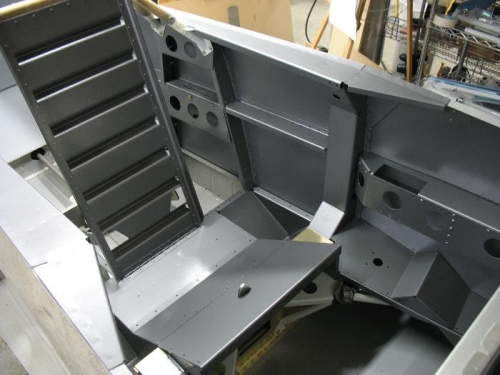
I am planning to use stainless Torx scres which you can see in the throttle console
|
|

|
|
|
|
|
|
|
|
|
Copyright © 2001-2024 Matronics. All Rights Reserved.
|