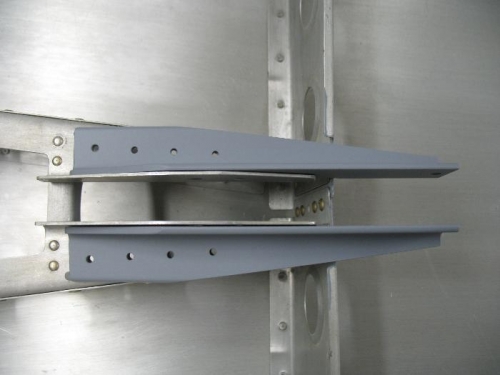
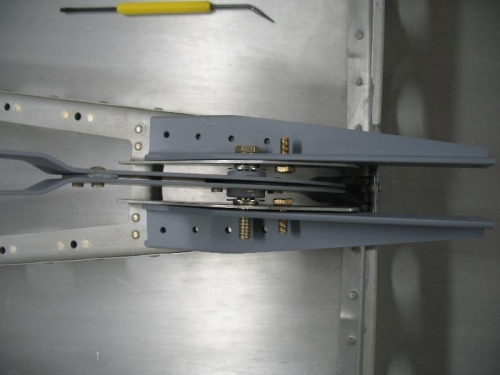
I continued the installation by deburring and priming the brackets. I also touched up the edges of the bulkhead where I cut out for the bracket. You can see in the photo the test fit with the bell crank in place and the two AN3 bolts; there should be not interference with the bell crank. I will rivet the brackets in place using Cherry Max 4-4 rivets; these are kind of over kill but I have them, and MSP 4-4 would work just as well. The brackets will not get much force put on them from the movement of the servo.
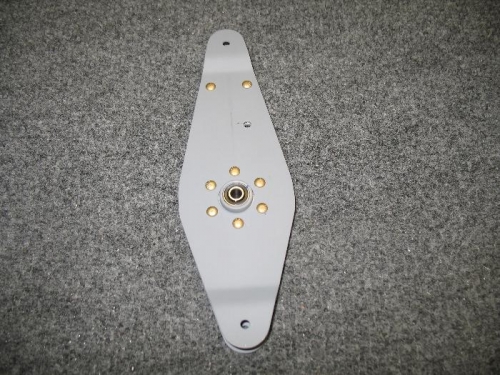
The last step was to drill the hole into the bell crank it self for the connecting rod that will attach the bell crank and the servo arm. I have not ordered my servos yet so the rest of the installation is on hold. I should note that you could make your own brackets easily out of .125 angle and then just order the connecting hardware from Dynon; I like the fact that the holes for the servo were already laid out and drilled into the Dynon brackets; I needed this since I have not bought the servos yet. I will post a picture after the brackets are riveted in place but you can see how the fit is from the photos of the parts just set in place.